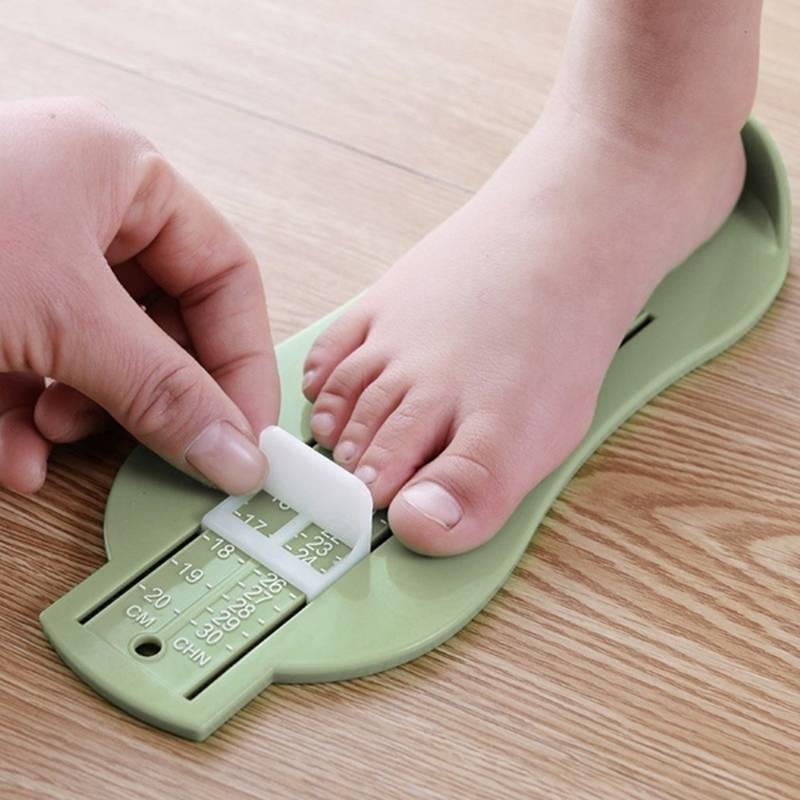
To order the right size, it's essential to measure your foot length. You can either use a measuring device or, if you don’t have one, simply follow these steps:
- Place an A4 sheet of paper against a wall.
- Stand on the paper with your heel against the wall.
- Trace around your foot with a pen.
Next, measure the length and width at the tracing points, and compare these measurements with our size charts. This way, we can avoid sending two pairs of skates, and you can save on return shipping.
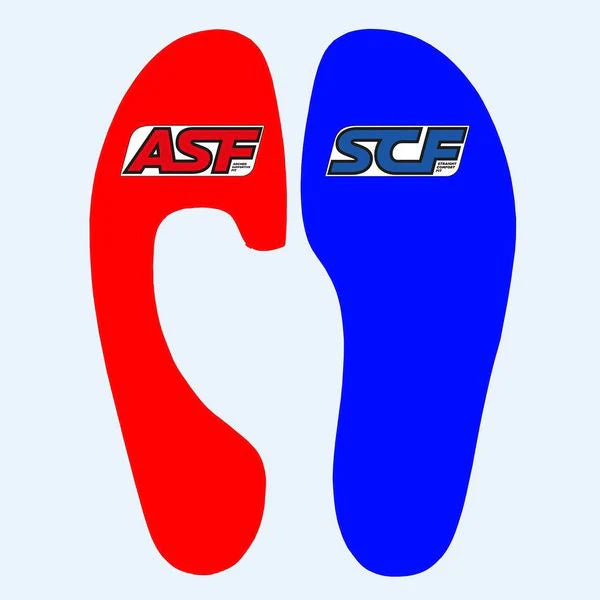
ASF (Arched Support Fit)
ASF is the standard boot fit designed for optimal foot positioning. The carbon-crafted arch ensures that the foot is securely held in the boot, allowing for maximum power transmission without any loss of support.
SCF (Straight Comfortable Fit)
SCF is tailored for extreme flat feet. Its nearly flat sole provides ample space for the arch to expand, ensuring that the skater can transmit maximum power while maintaining exceptional comfort.
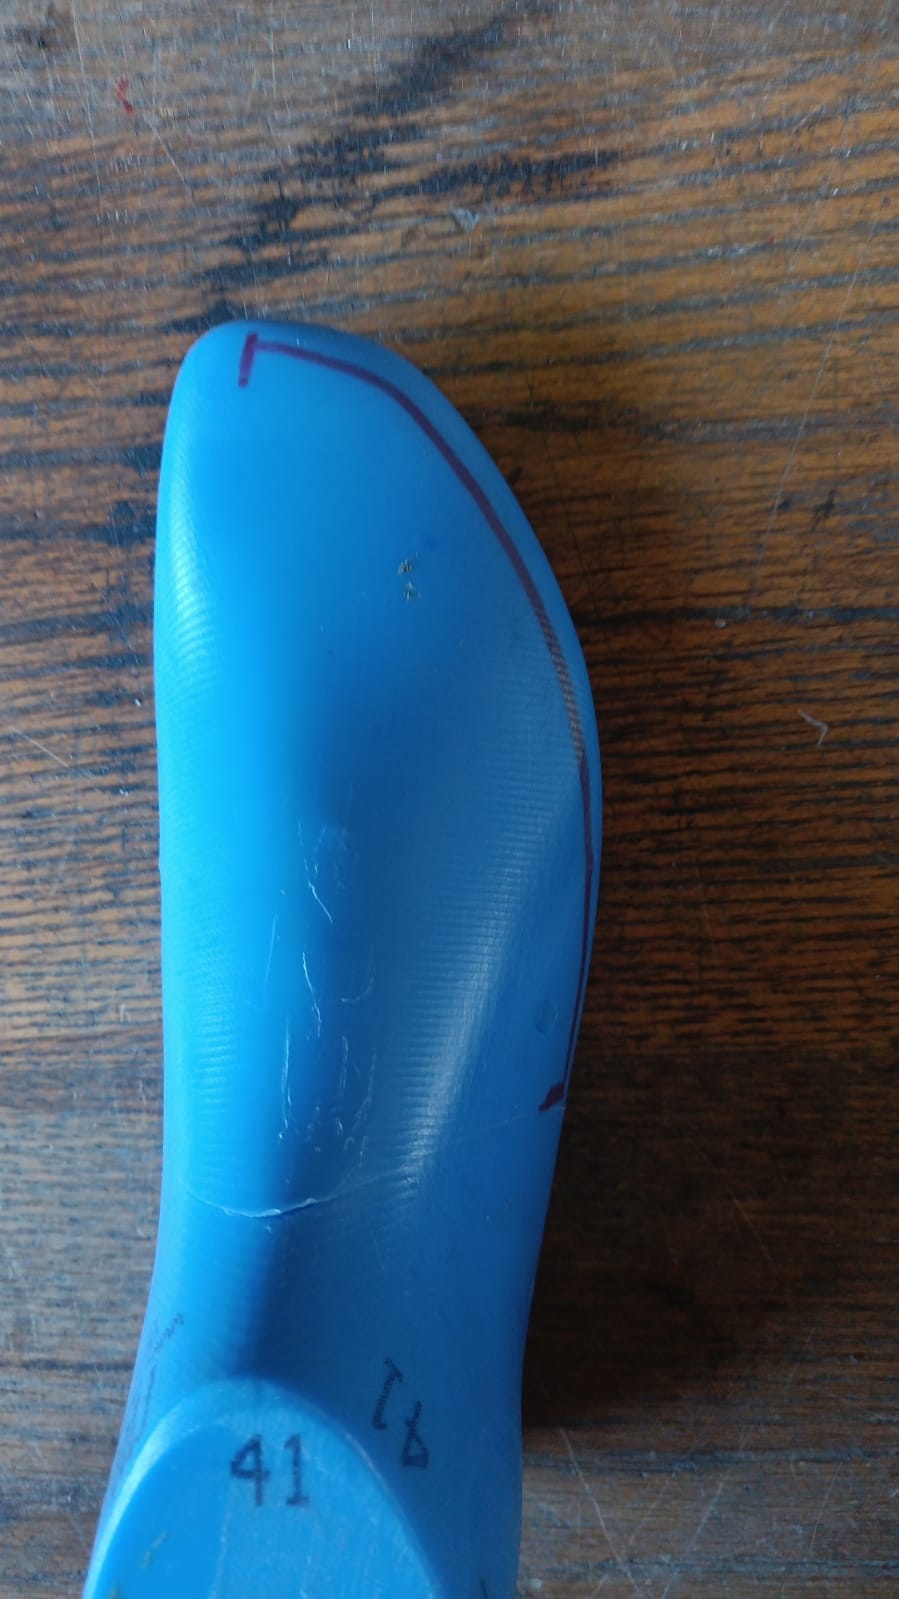
A wide shaped boot is for skaters with an extremely wide ball of the foot. It is approx one size wider than a normal shaped boot. Please remember, that a skating boot needs to fit tight around the foot and not to be loose. In most of the cases even though the ball of the foot is wider, a normal shape boot is still sufficient. If you are not sure which boot fits you best, feel free to contact us.
A normal shaped boot fits approx. 95 % of all skaters. If you are not sure which boot fits you best, feel free to contact us.
A slim shaped boot is for skaters, especially women, with a slim ball of the foot. It is approx one size slimmer than a normal shaped boot. If you are not sure which boot fits you best, feel free to contact us.
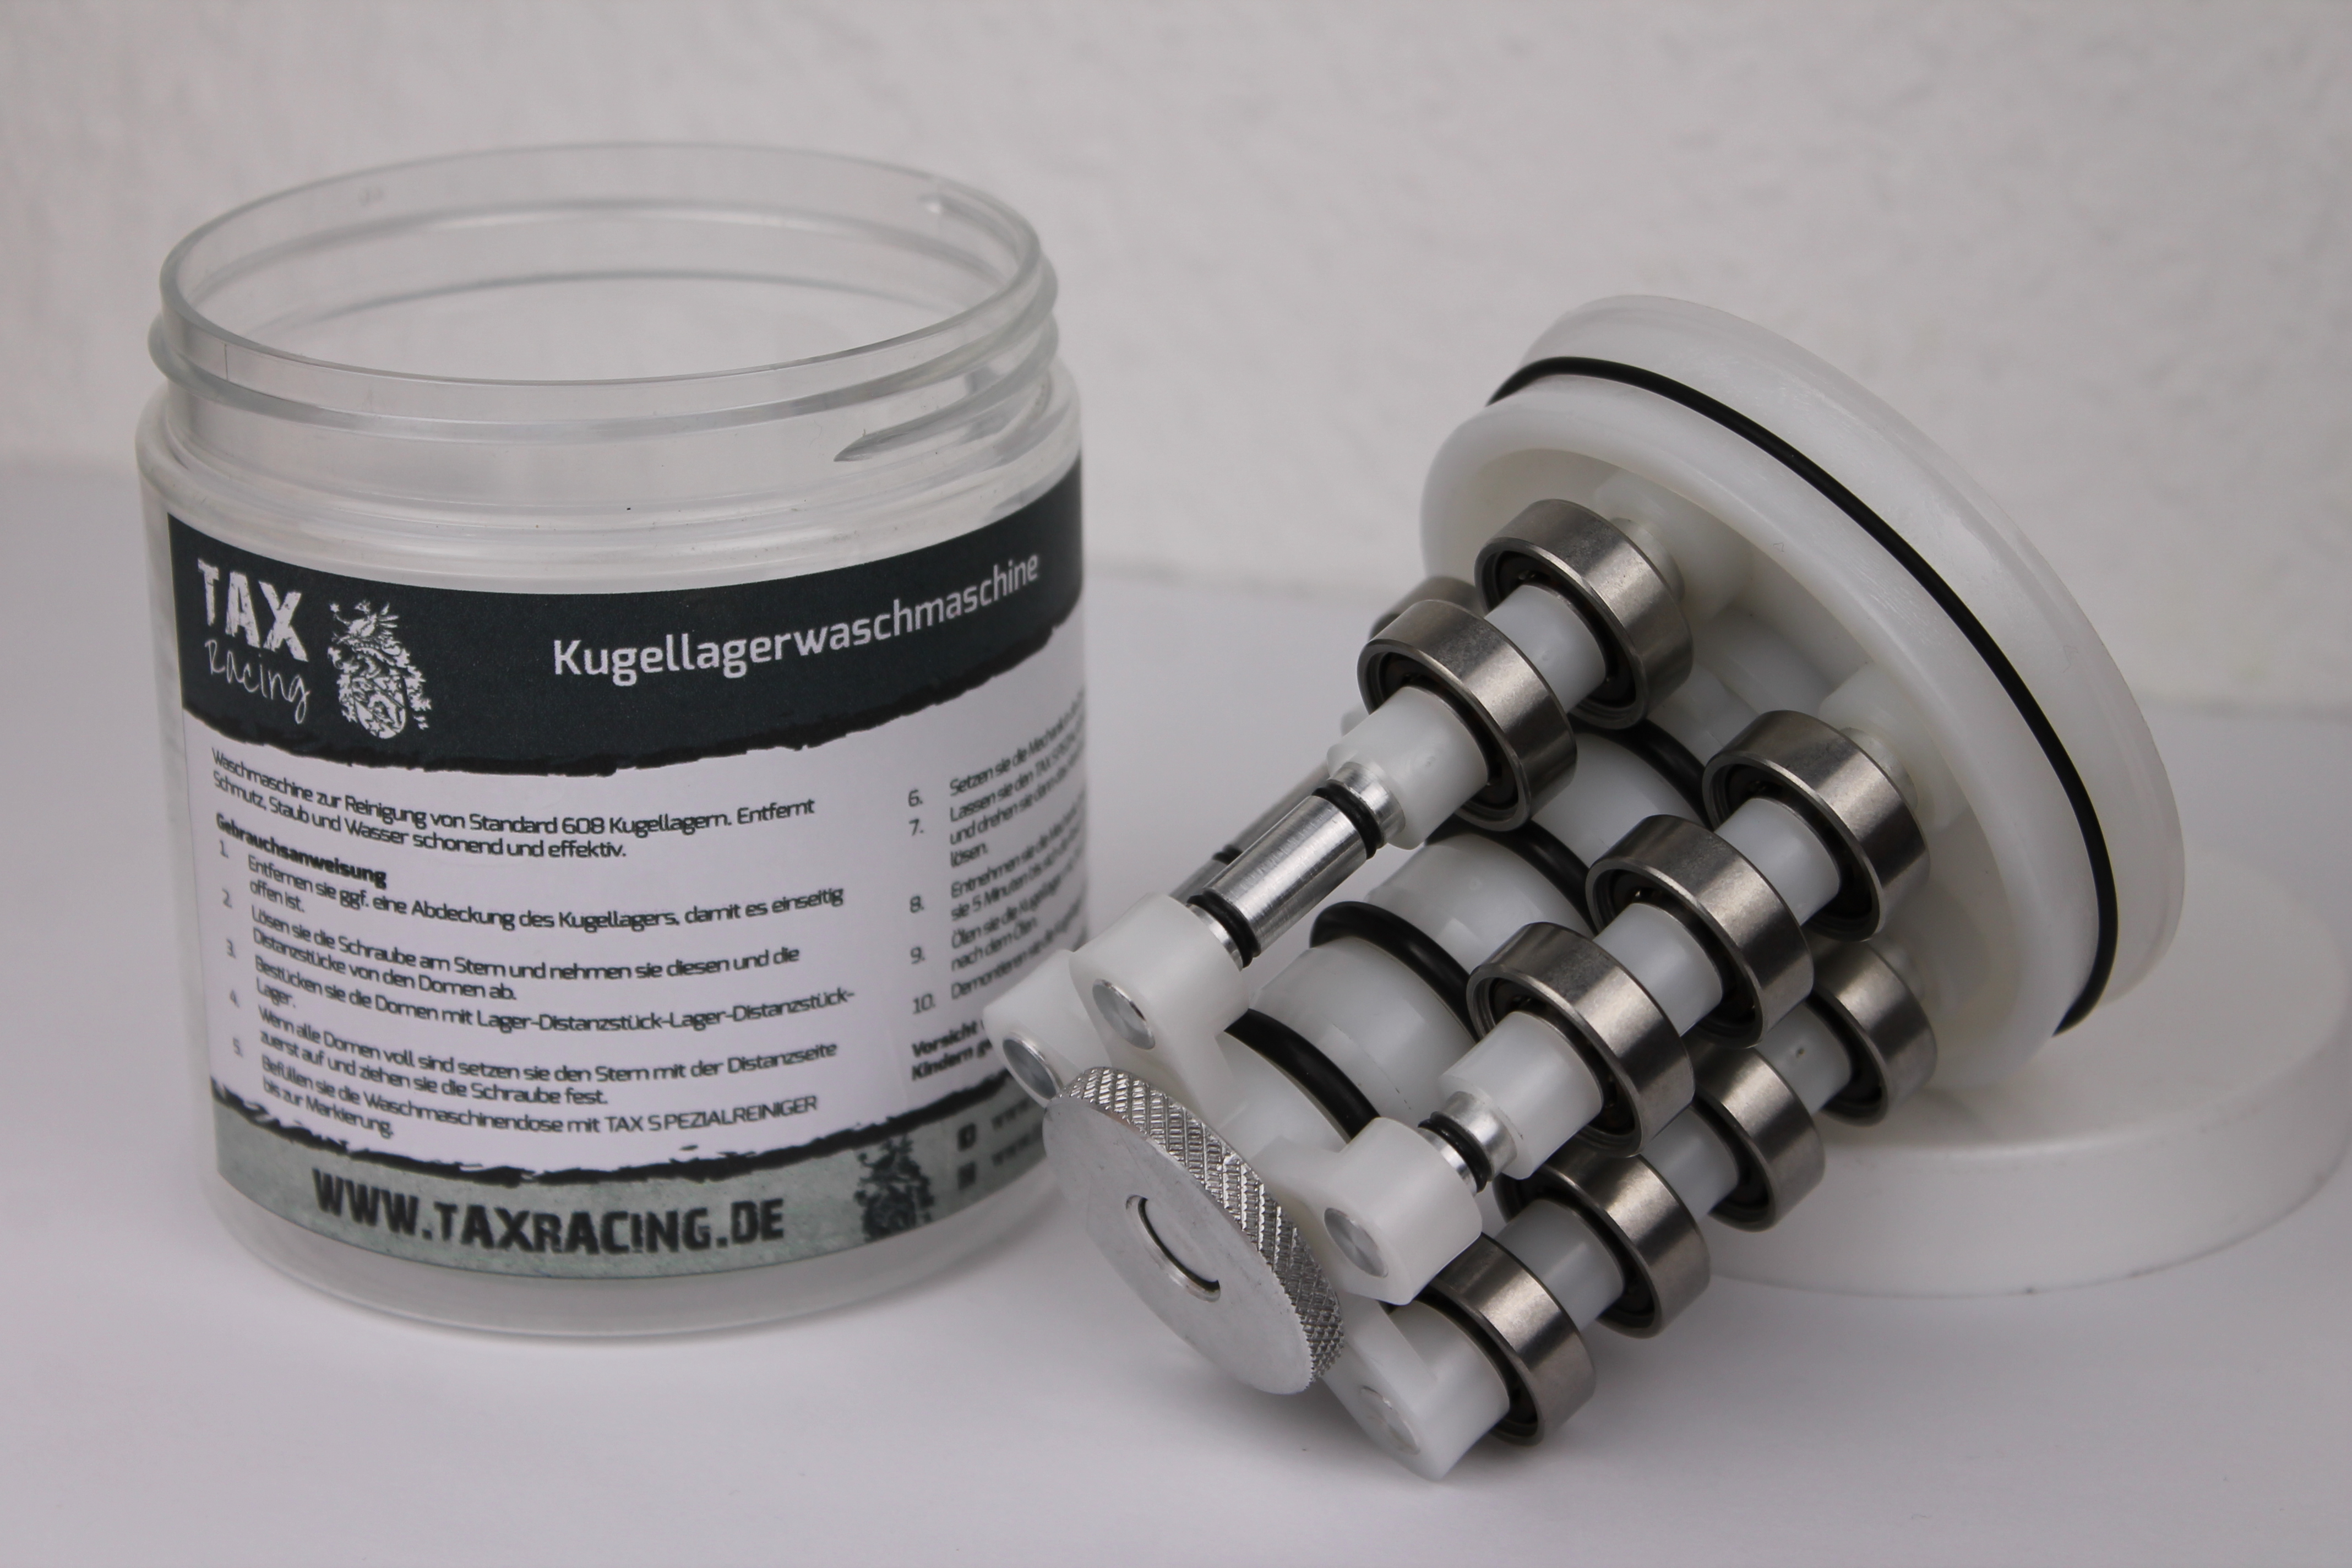
How to Clean Bearings
Required Items:
- Dry cloth
- Container (e.g., bearing cleaner, jar, ultrasonic cleaner, etc.)
- Washing gasoline
- Tool
- Low-viscosity oil
Steps:
-
Initial Cleaning: Wipe the bearings with a dry cloth to remove heavy dirt. This prevents excess grime from contaminating the washing gasoline. If the bearings are sealed on both sides, open one side to allow larger particles to wash out.
-
Prepare the Container: Pour washing gasoline into the container and place the bearings inside.
-
Shake the Container: Close the container and shake gently. For heavily soiled bearings, let them "soak" for a bit before shaking.
-
Drying: Remove the bearings and place them on a clean cloth. Tap them gently to remove excess washing gasoline, then wait until the gasoline has evaporated.
-
Blow Out Residues: Spin the bearings while blowing air (using a compressor) to remove any remaining residues left by the evaporated gasoline.
-
Lubricate: Apply a low-viscosity, non-dispersive oil to the bearings. Caution: Avoid over-oiling; just enough oil to silence the bearings is sufficient. Excess oil can reduce performance.
-
Reassemble if Necessary: If you removed any covers, put them back on the bearings to prevent larger dirt particles from entering.
Tip: Seal the container with washing gasoline and let it sit for a few days. This allows larger particles to settle, so you can pour off the clean gasoline for reuse.
Note: WD-40 is a rust remover, not a lubricant. For oil, use acid-free fine mechanical oil. We recommend TAX Speed Lube for training and competition!
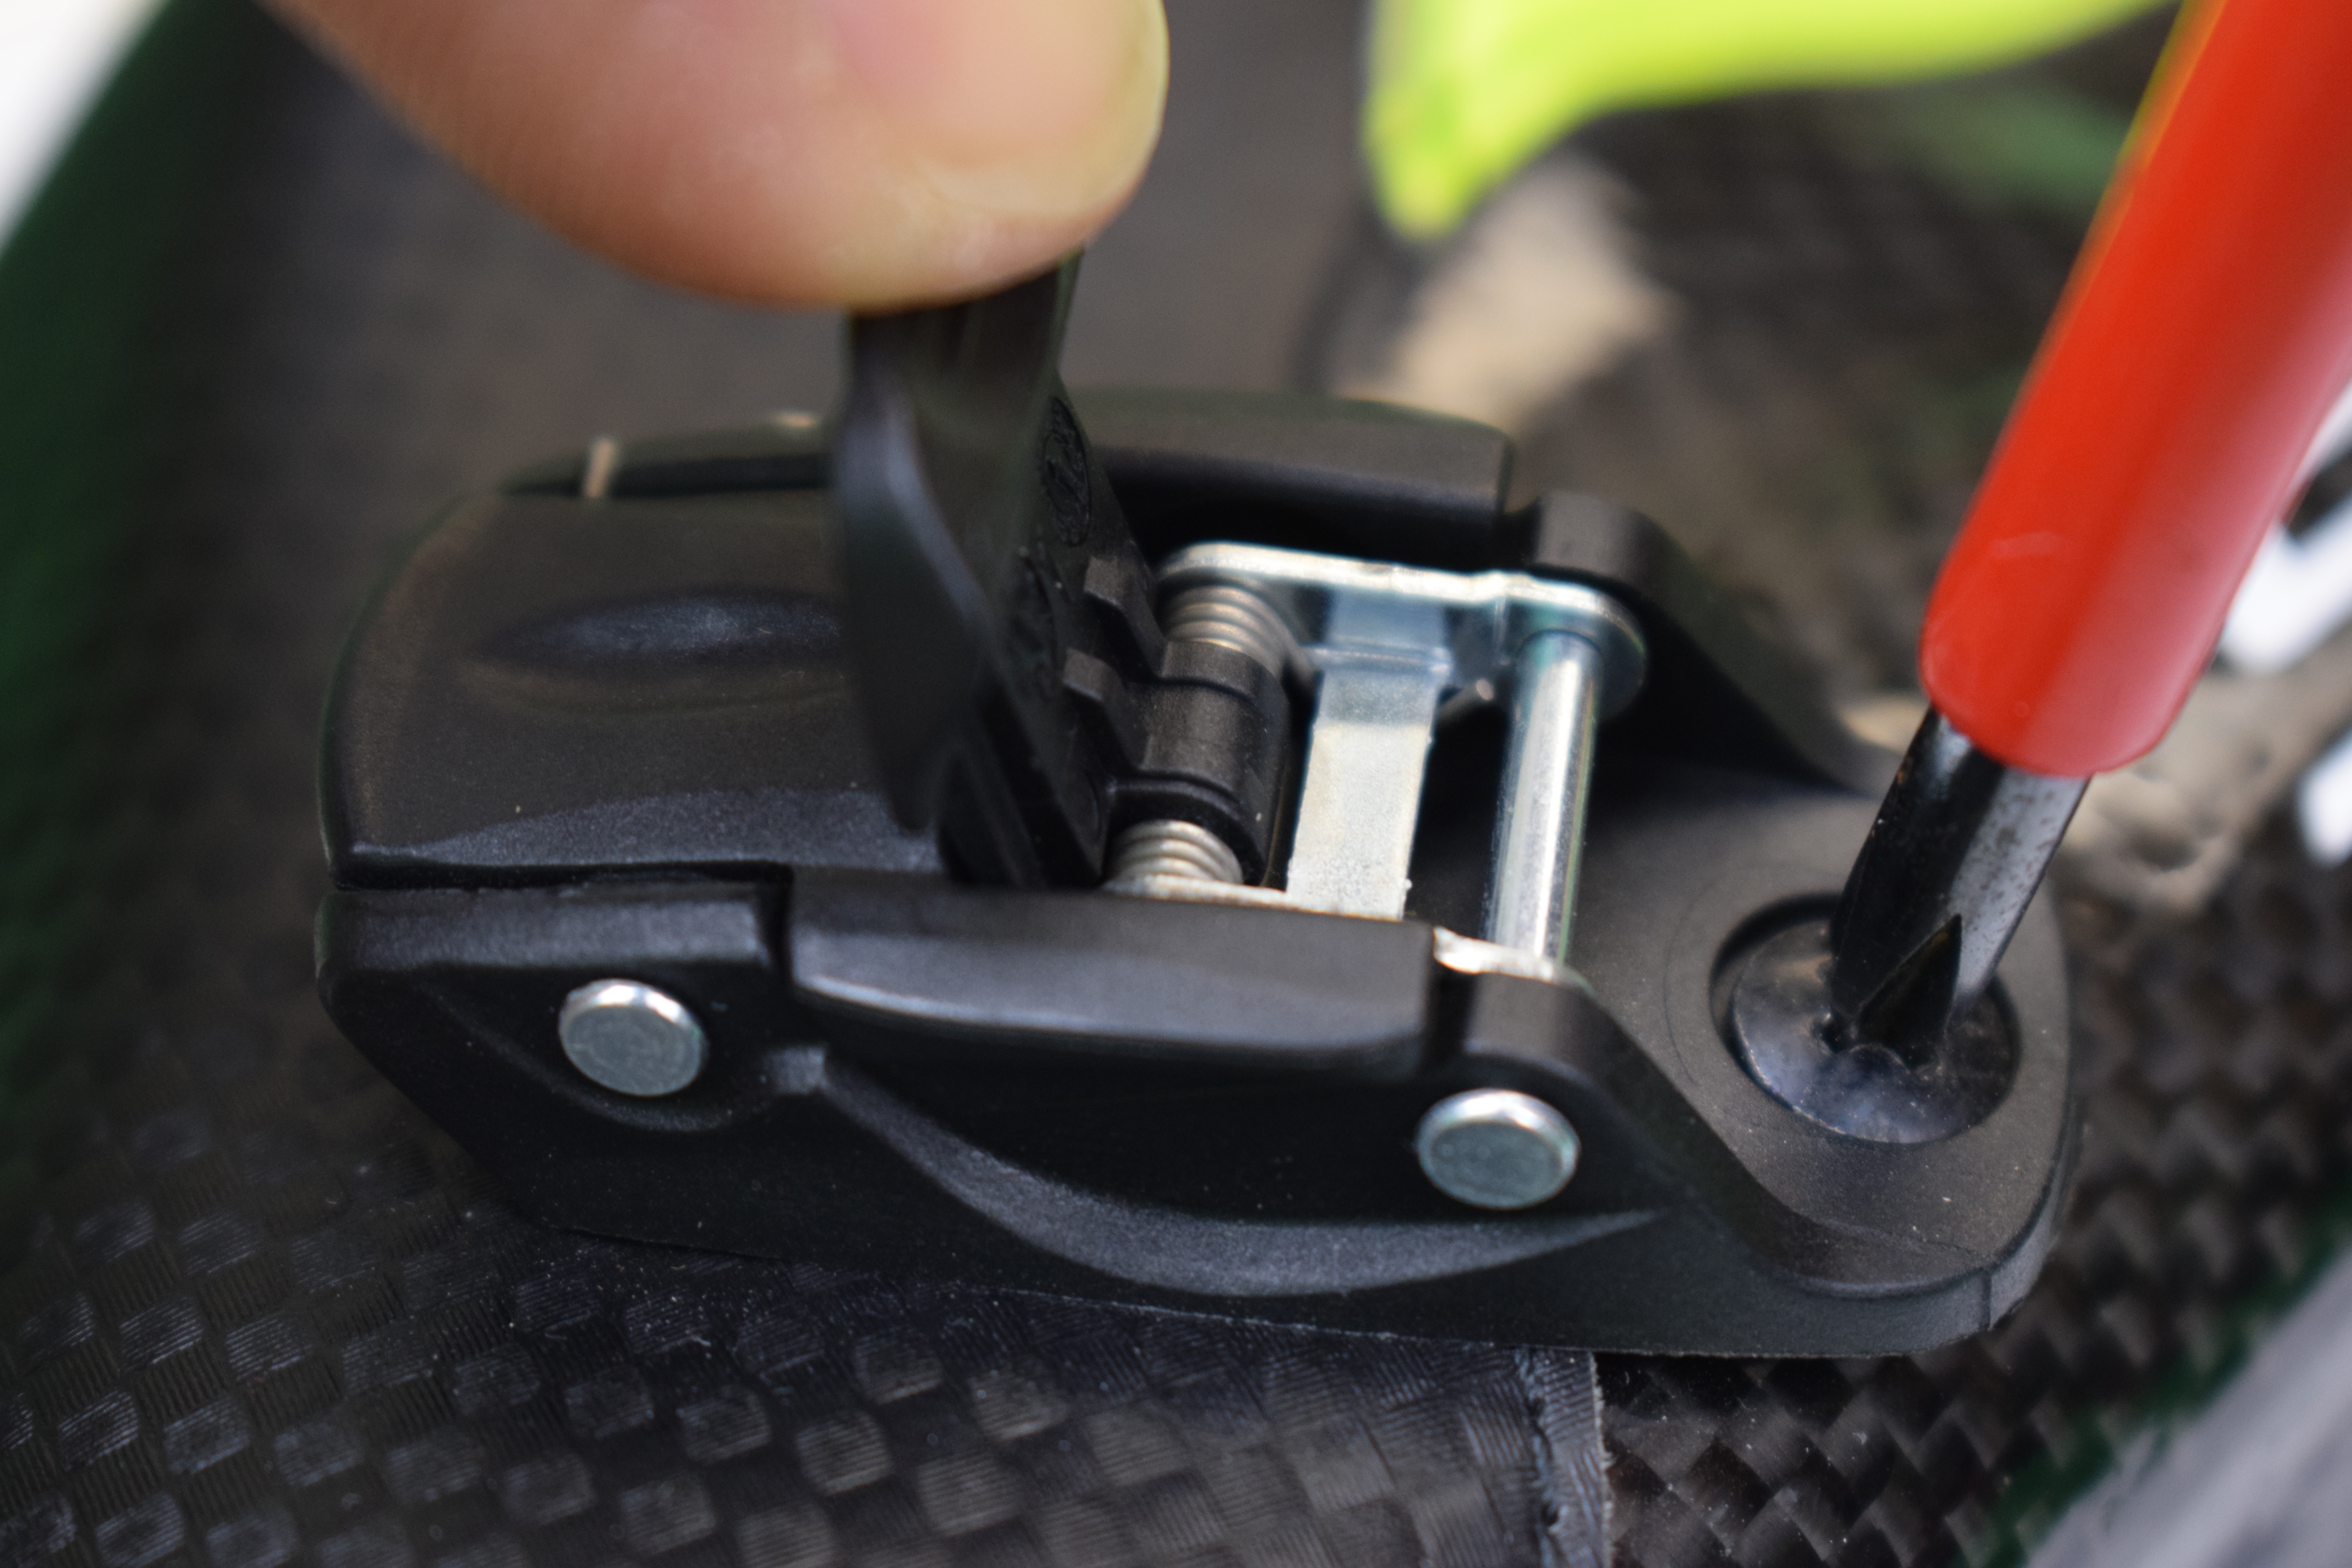
Buckles are attached to the shoe using a cross screwdriver. They should not be tightened too much, as the buckle is usually made of plastic. Also, check if your "strap"—the buckle strap for tightening—is not too worn. You can easily pull it out of the loop sewn onto the shoe and replace it with a new one. Depending on the buckle, there are different straps available, so make sure the correct product is in your cart when purchasing.
Frames are attached to the shoe using screws suitable for the frame. For hex screws, only use a hex key; never use a Torx key on hex screws! The screws should be tightened firmly to prevent the frame from slipping under pressure. The key should be inserted cleanly into the screws without being misaligned. (Image 1)
For the initial setup of the frame, it should be positioned at the back center of the Achilles tendon or heel (Image 2) and at the front centered between the big toe and second toe.
After the first skating session, adjustments can be made as needed to prevent bending in the skate. Start by adjusting the position at the heel. (Image 3)
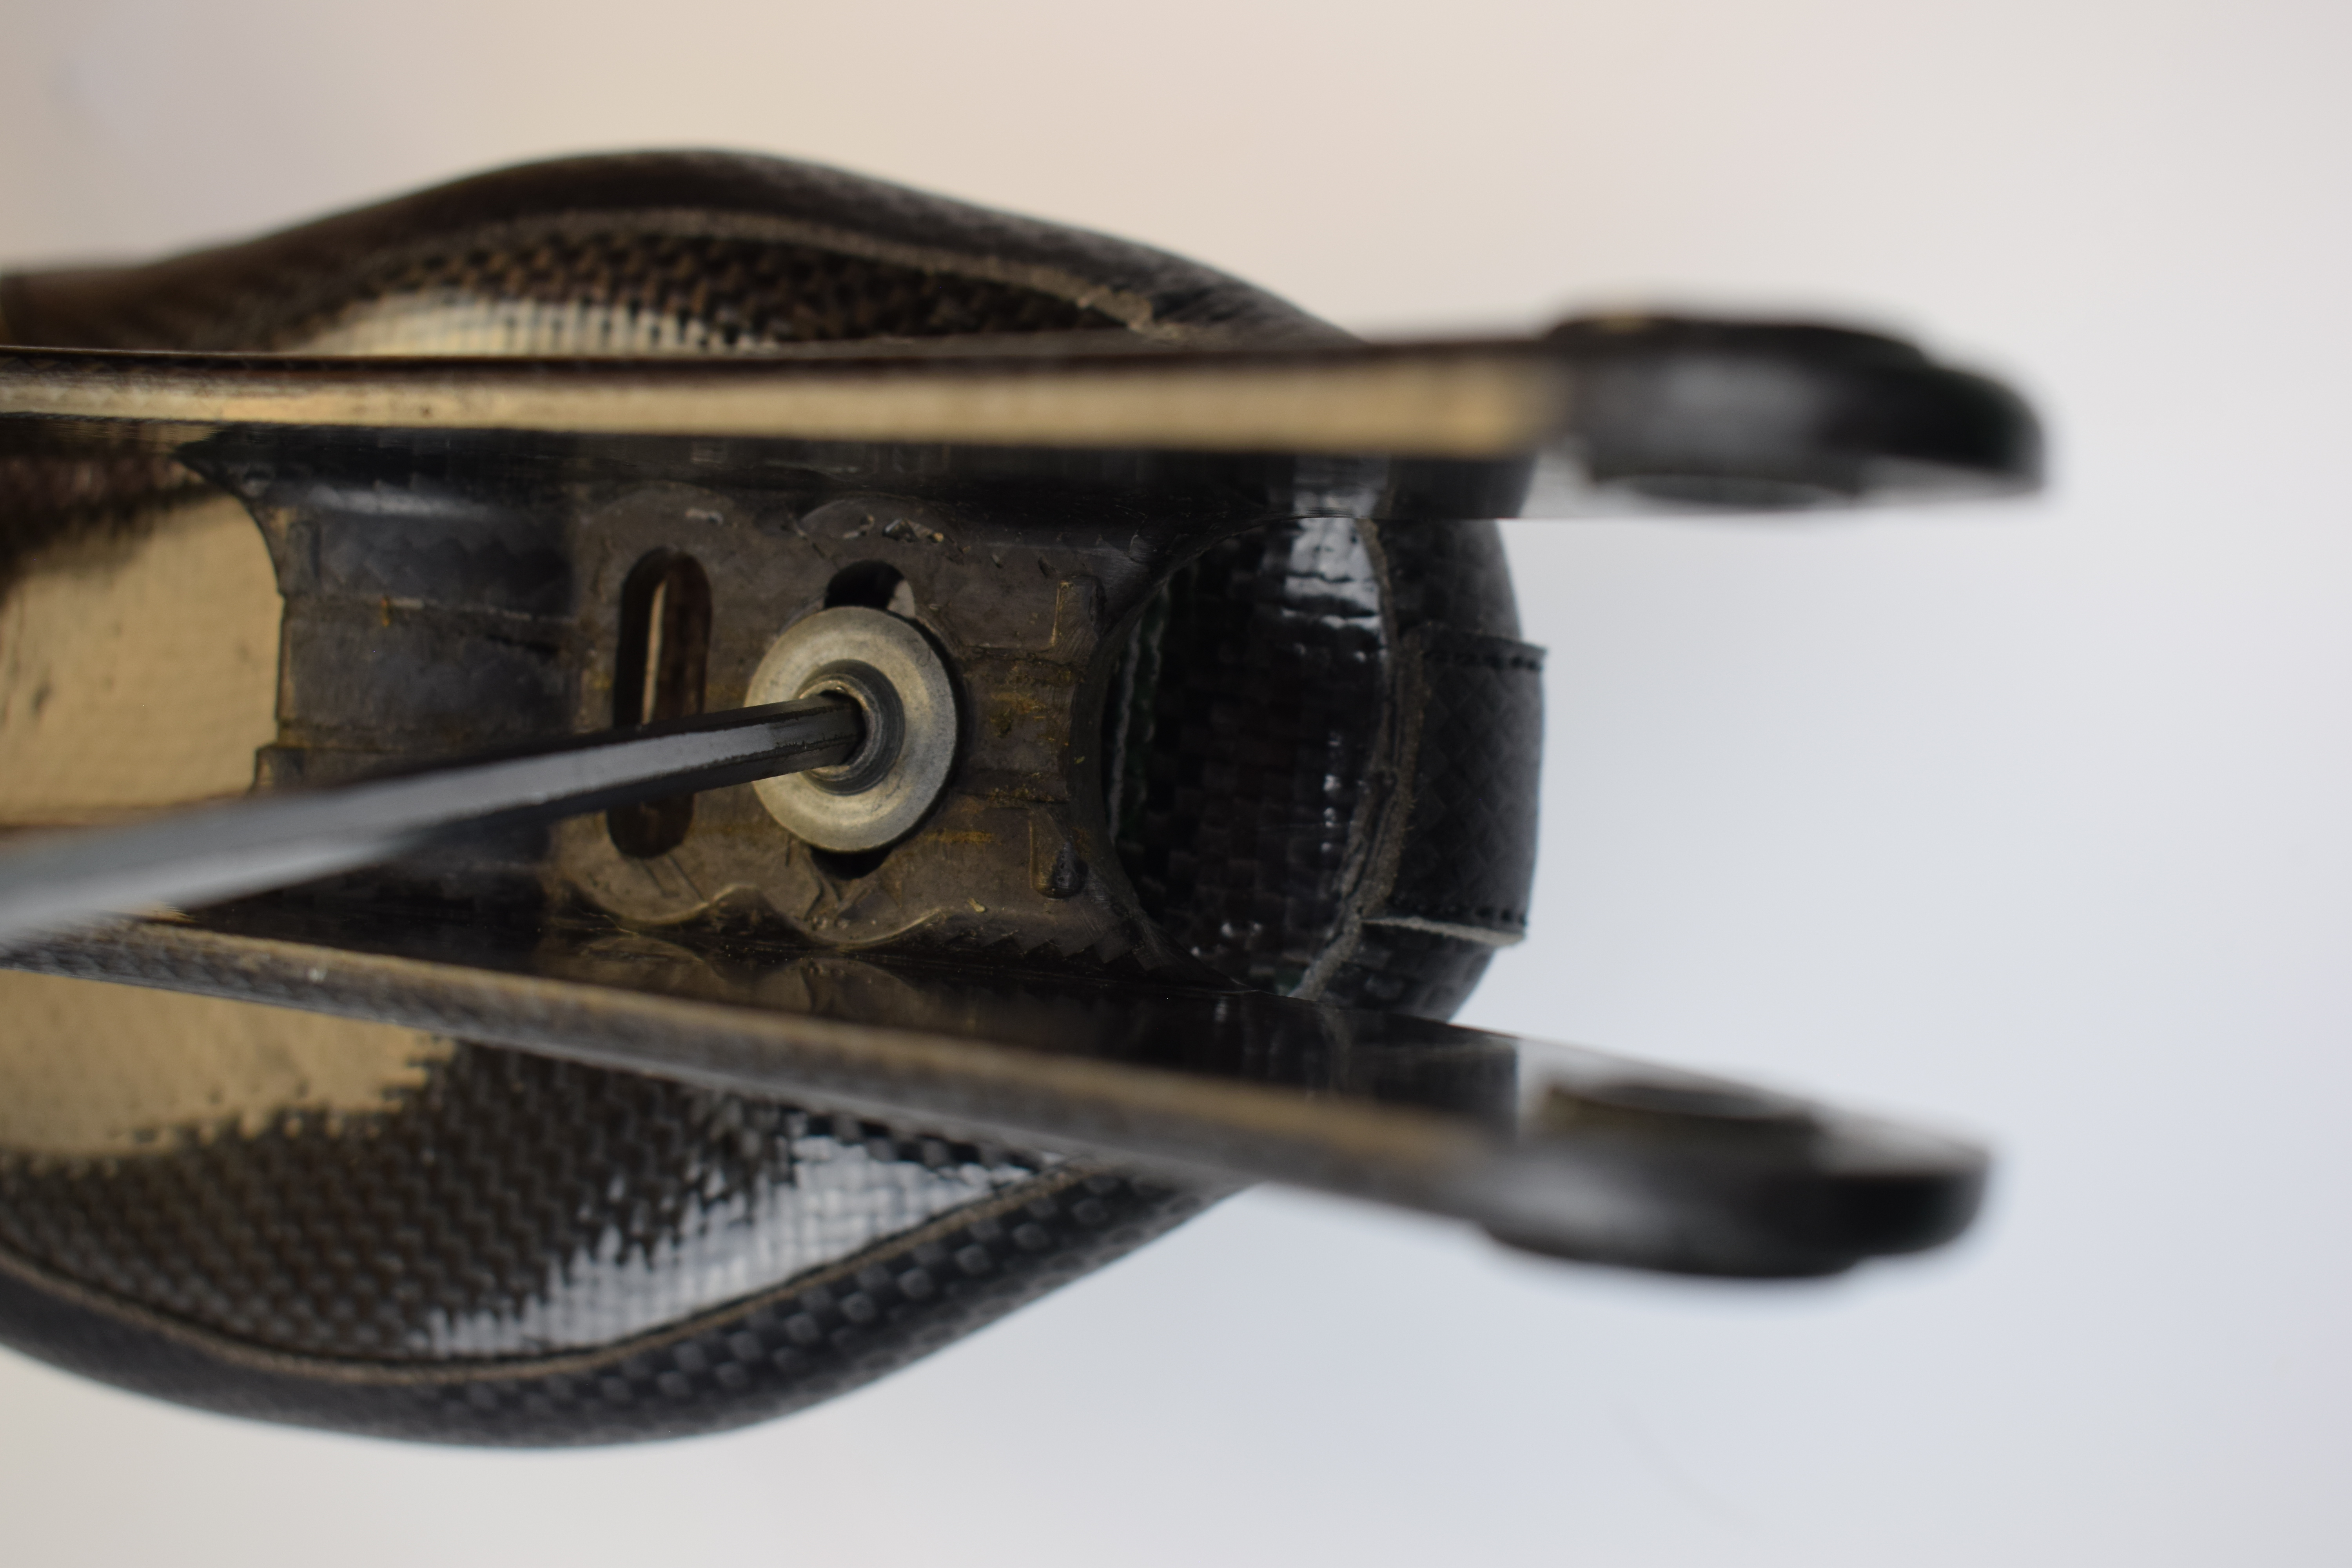
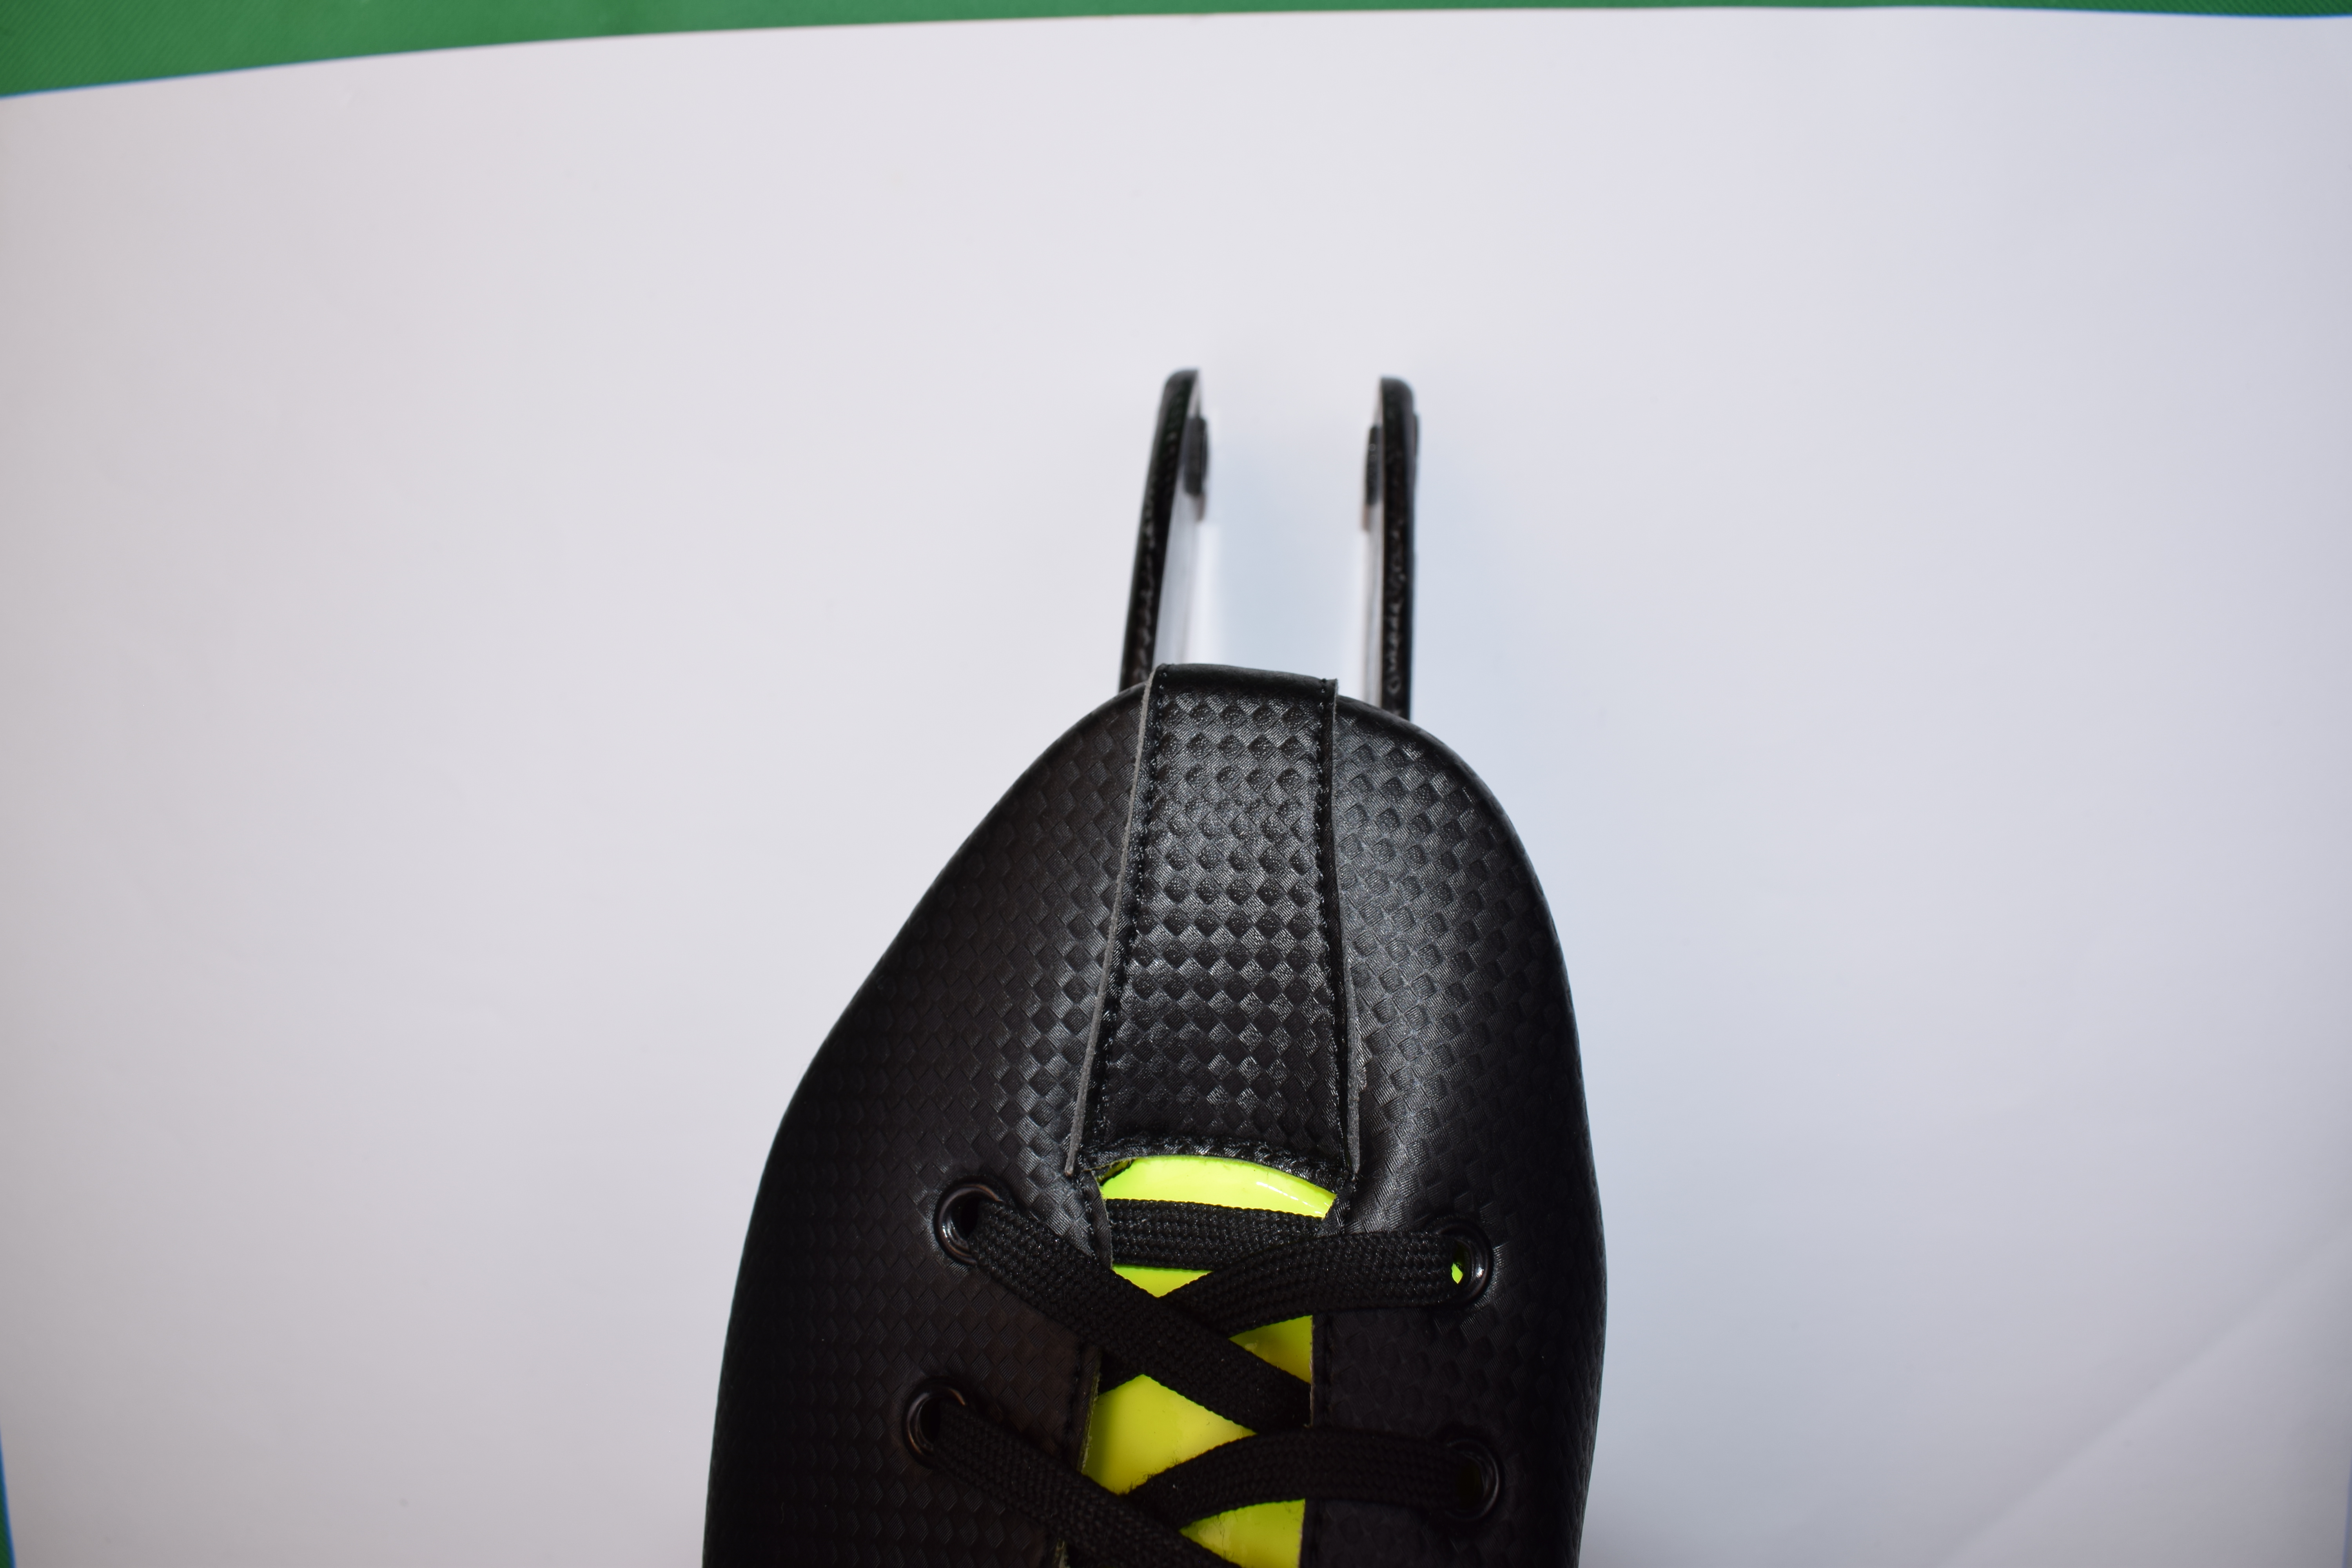
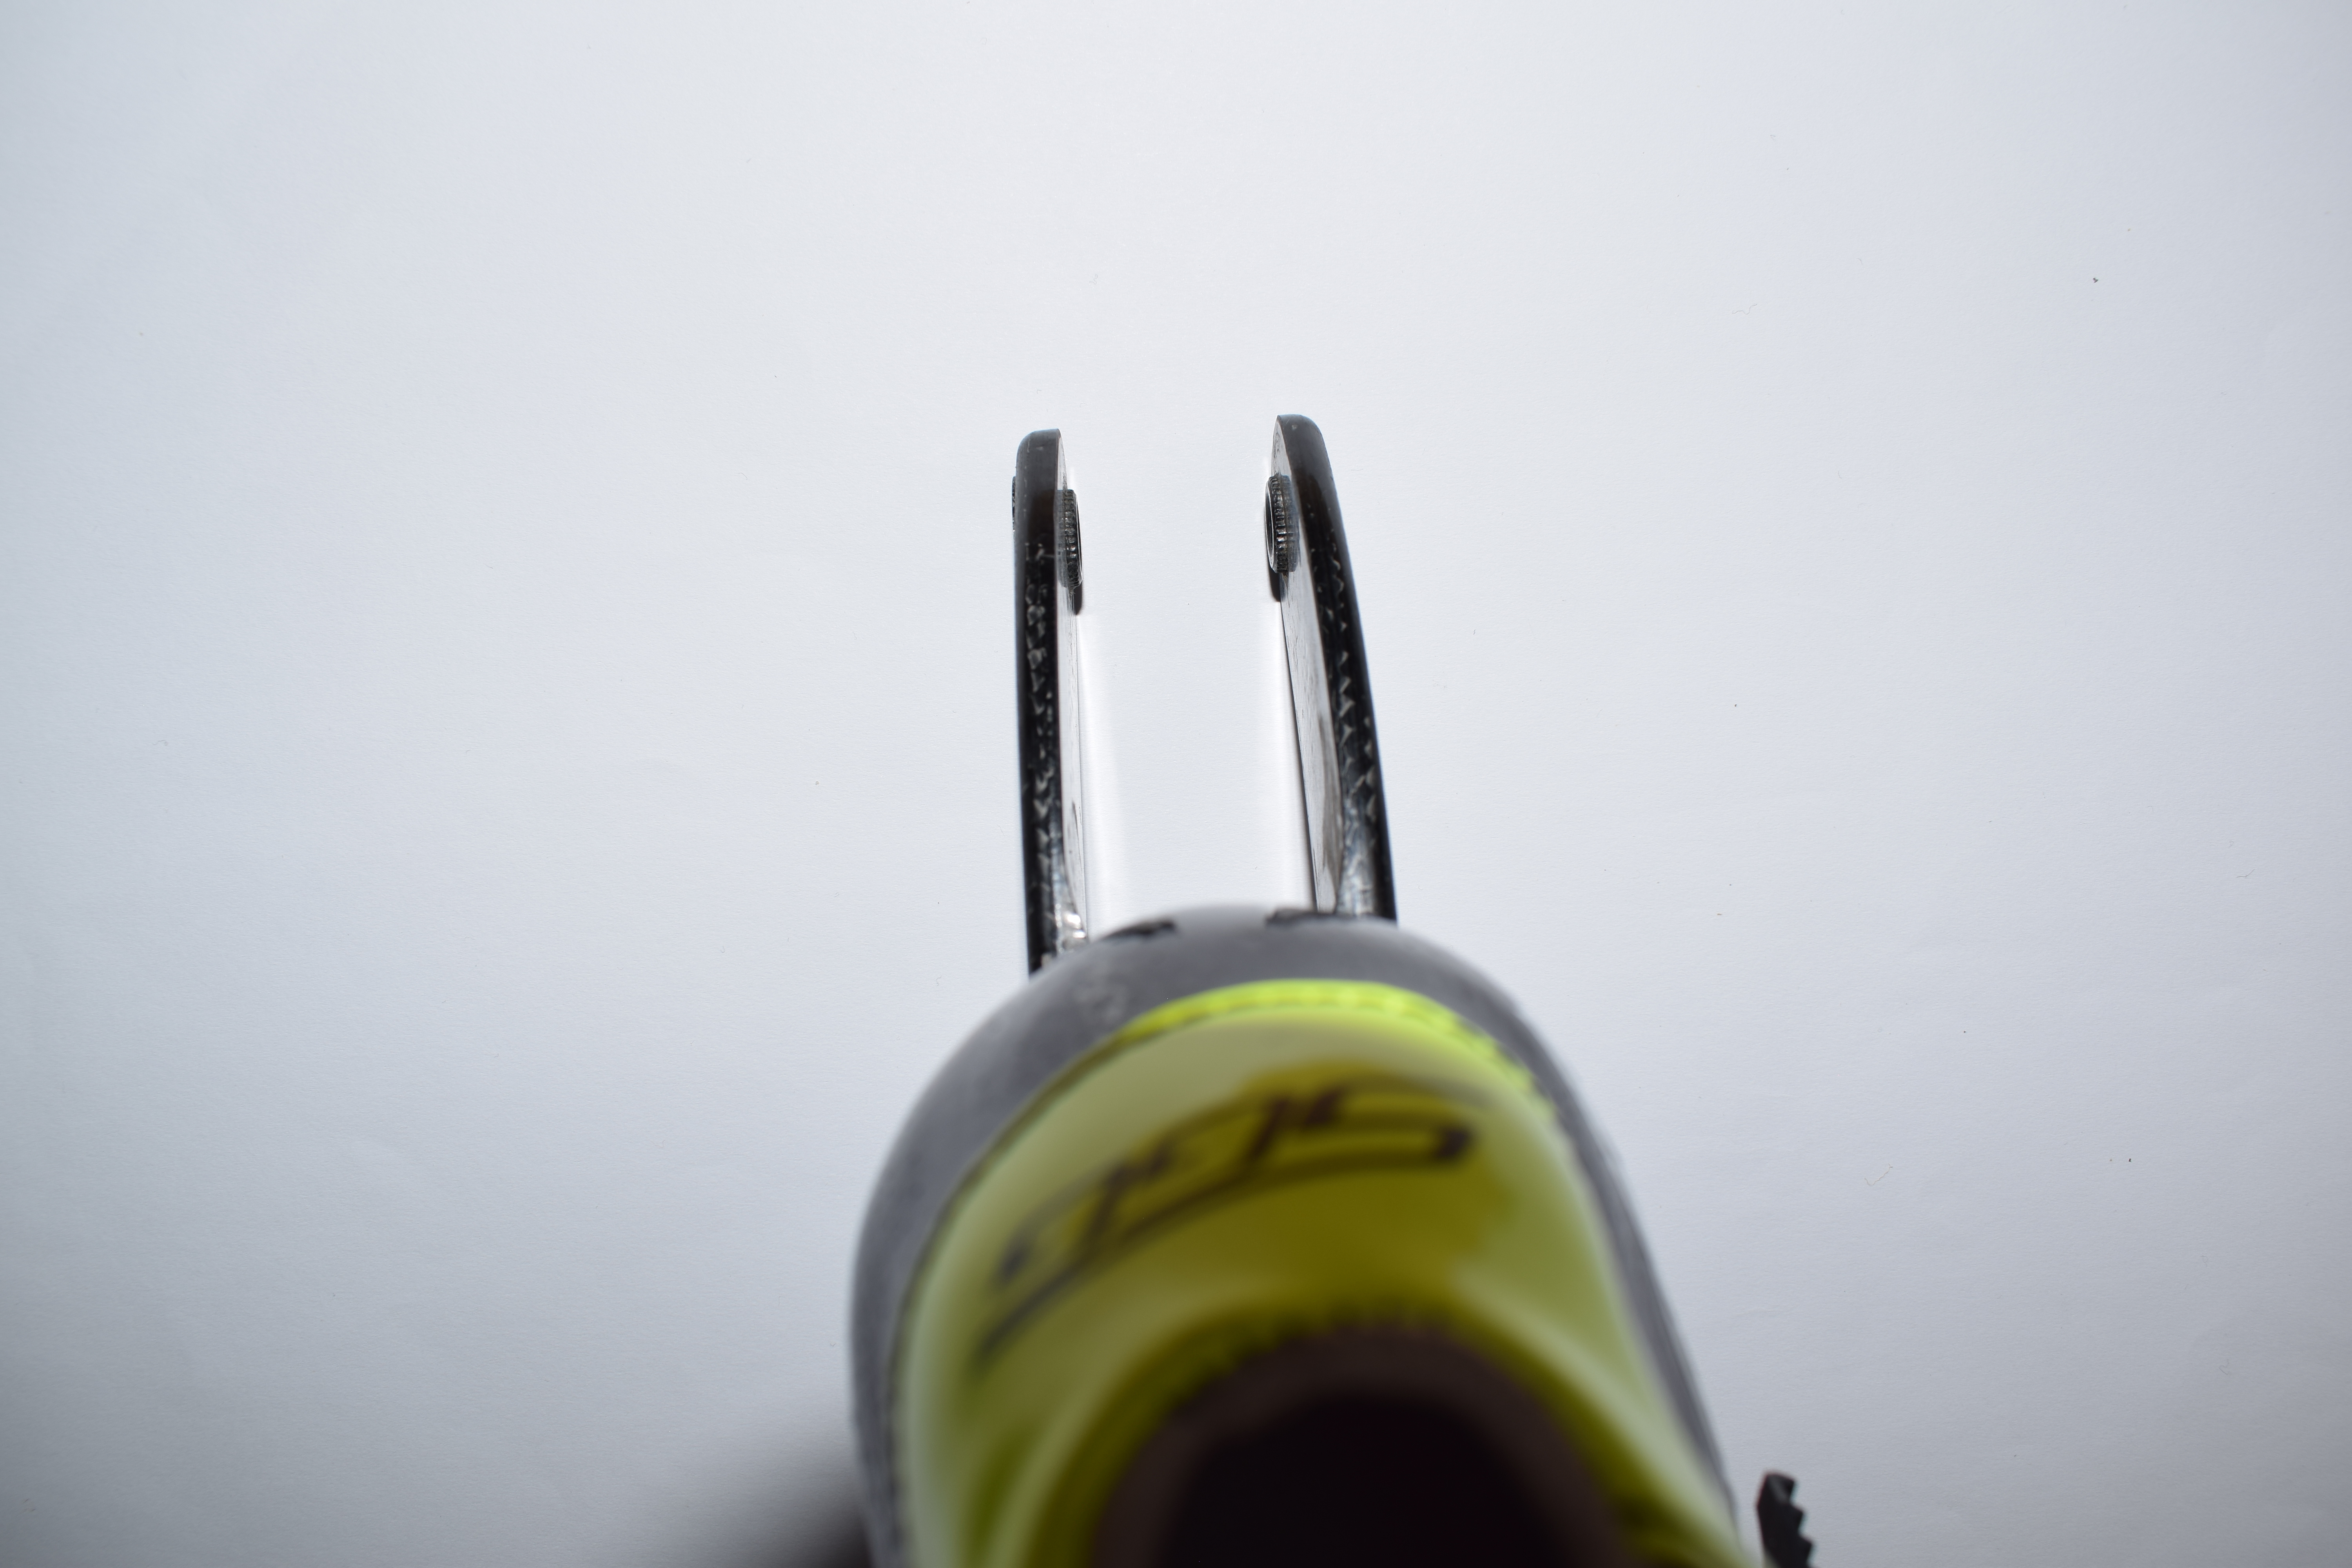
Wheels are first equipped with two bearings and a spacer in between. If the bearings are open on one side, that side should face the inside of the wheel. They are then secured to the frame using axles. It's important to ensure that the full length of the keyway in the axle is utilized to avoid any "wobbling" of the axle. If the wheels do not spin after installation in the frame, it may be because the bearings are not fully seated in their housing. To fix this issue, you can lightly tap a second wheel against the one in the frame.
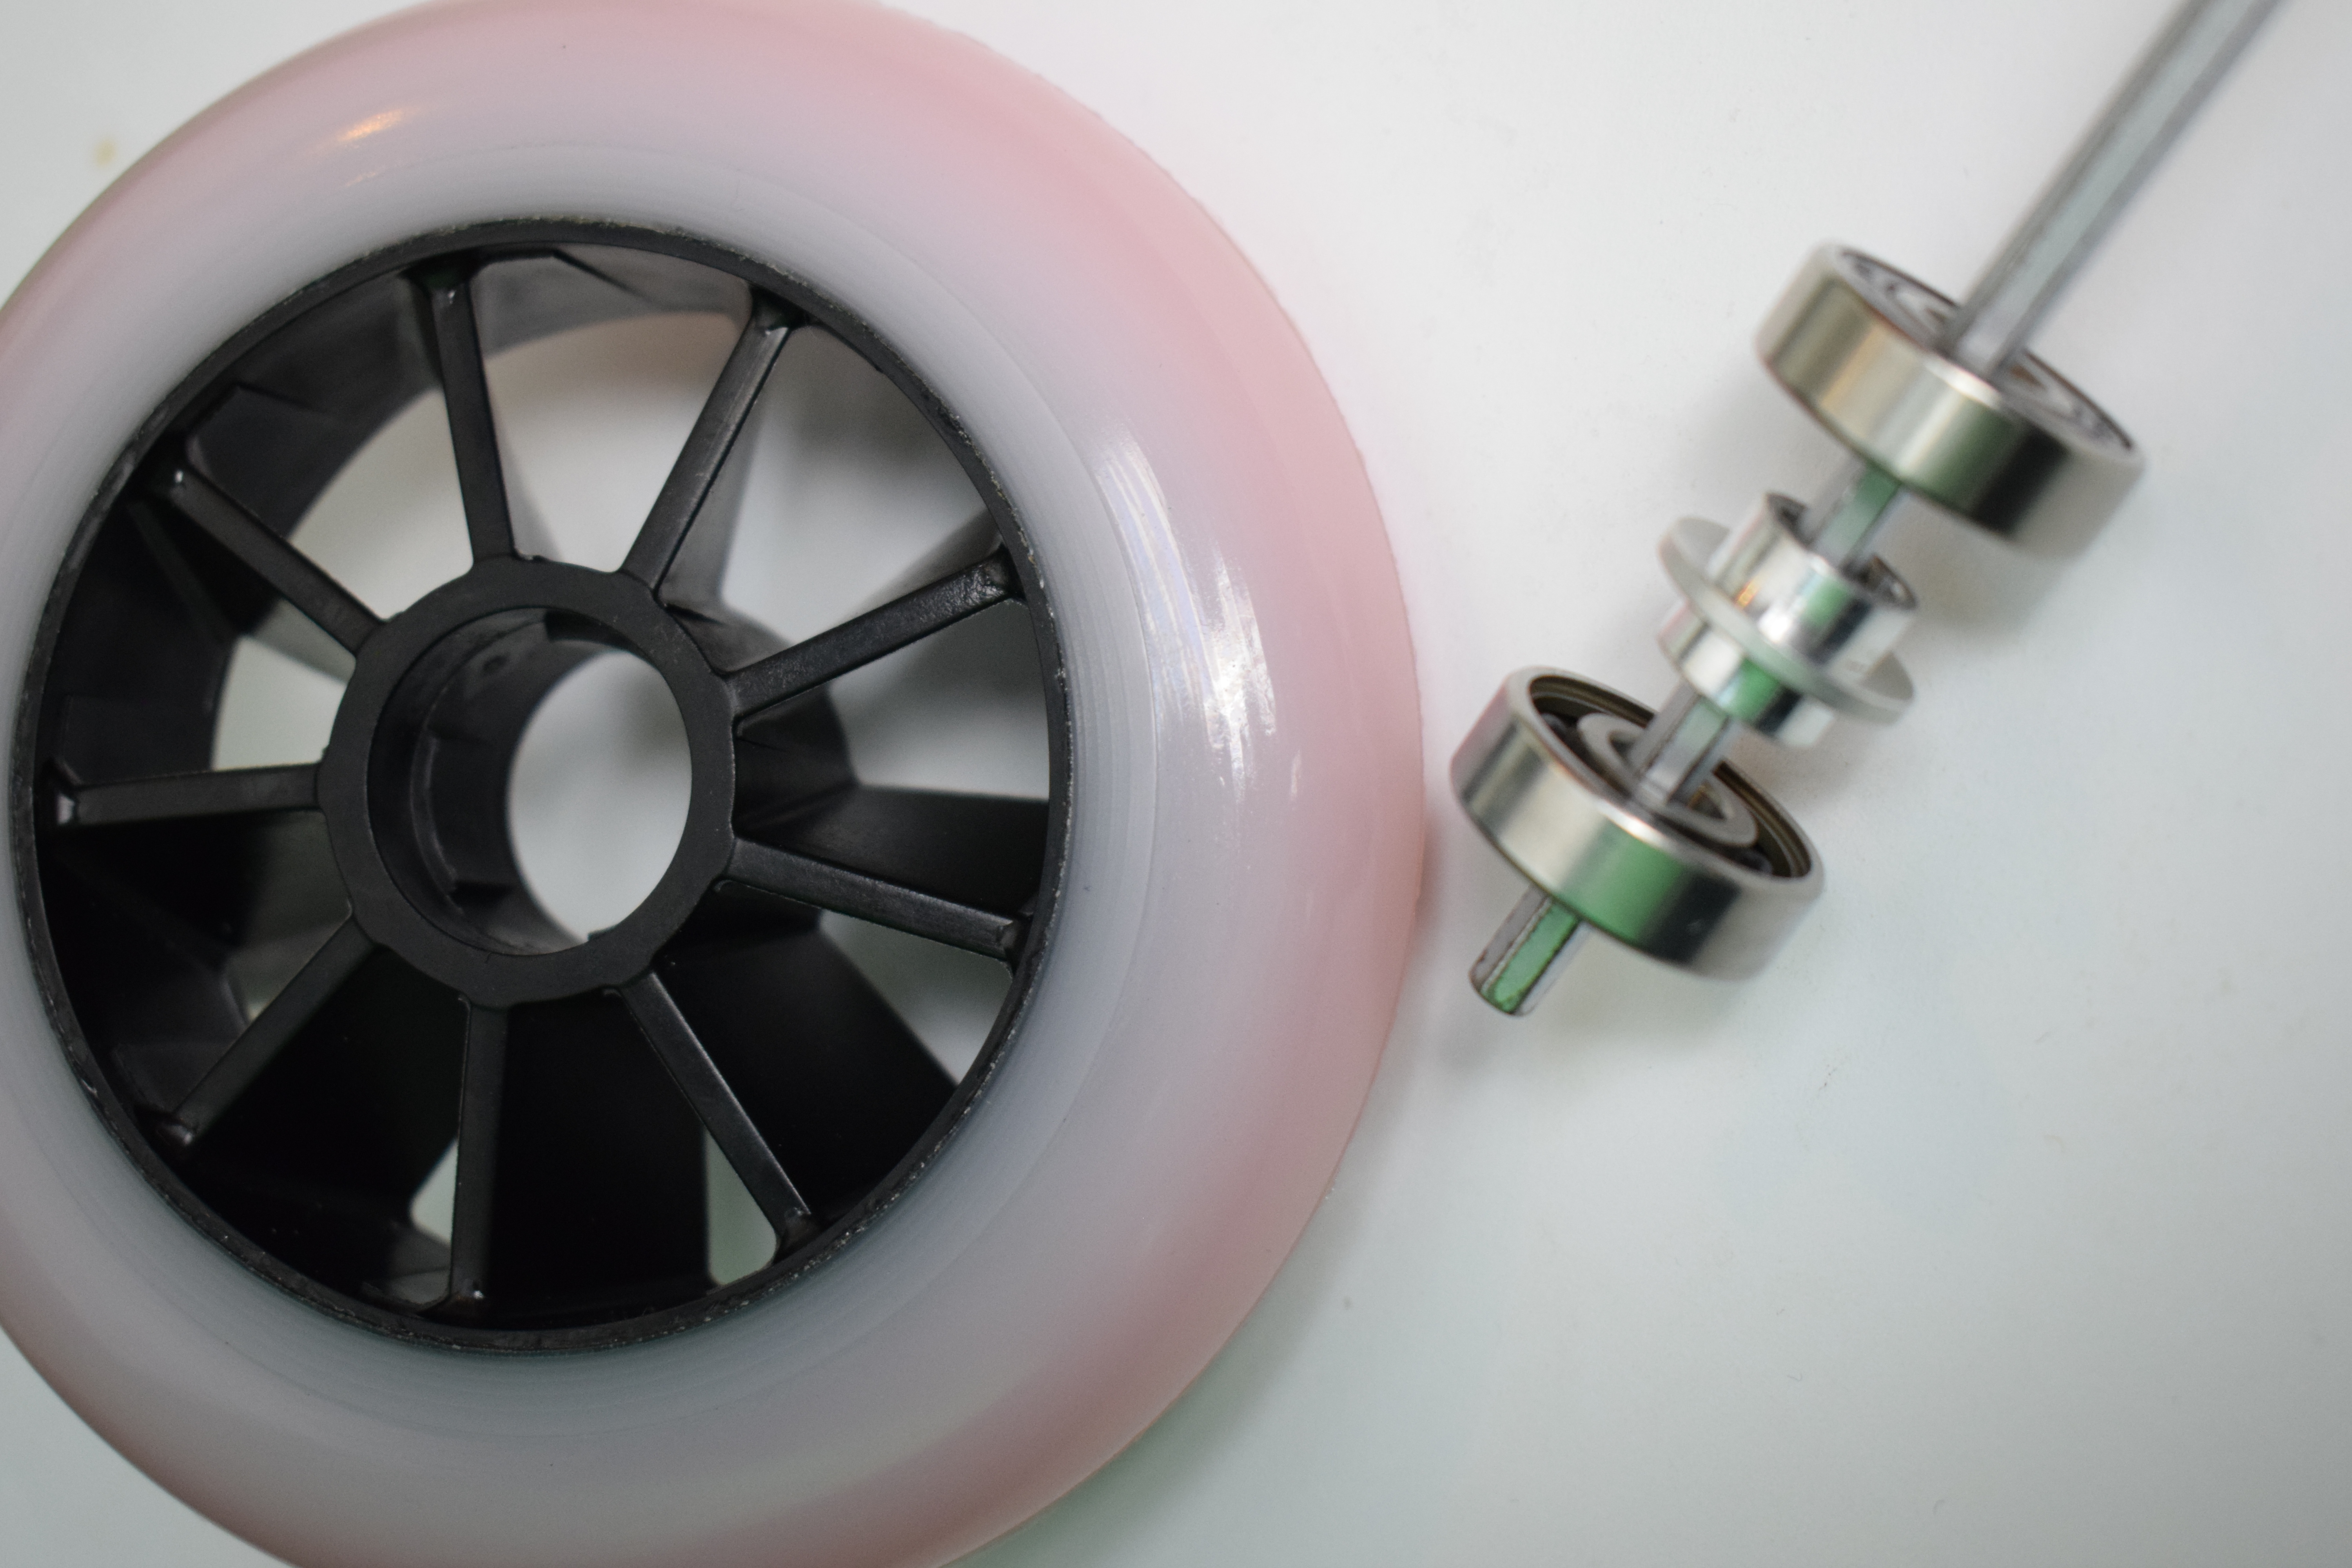
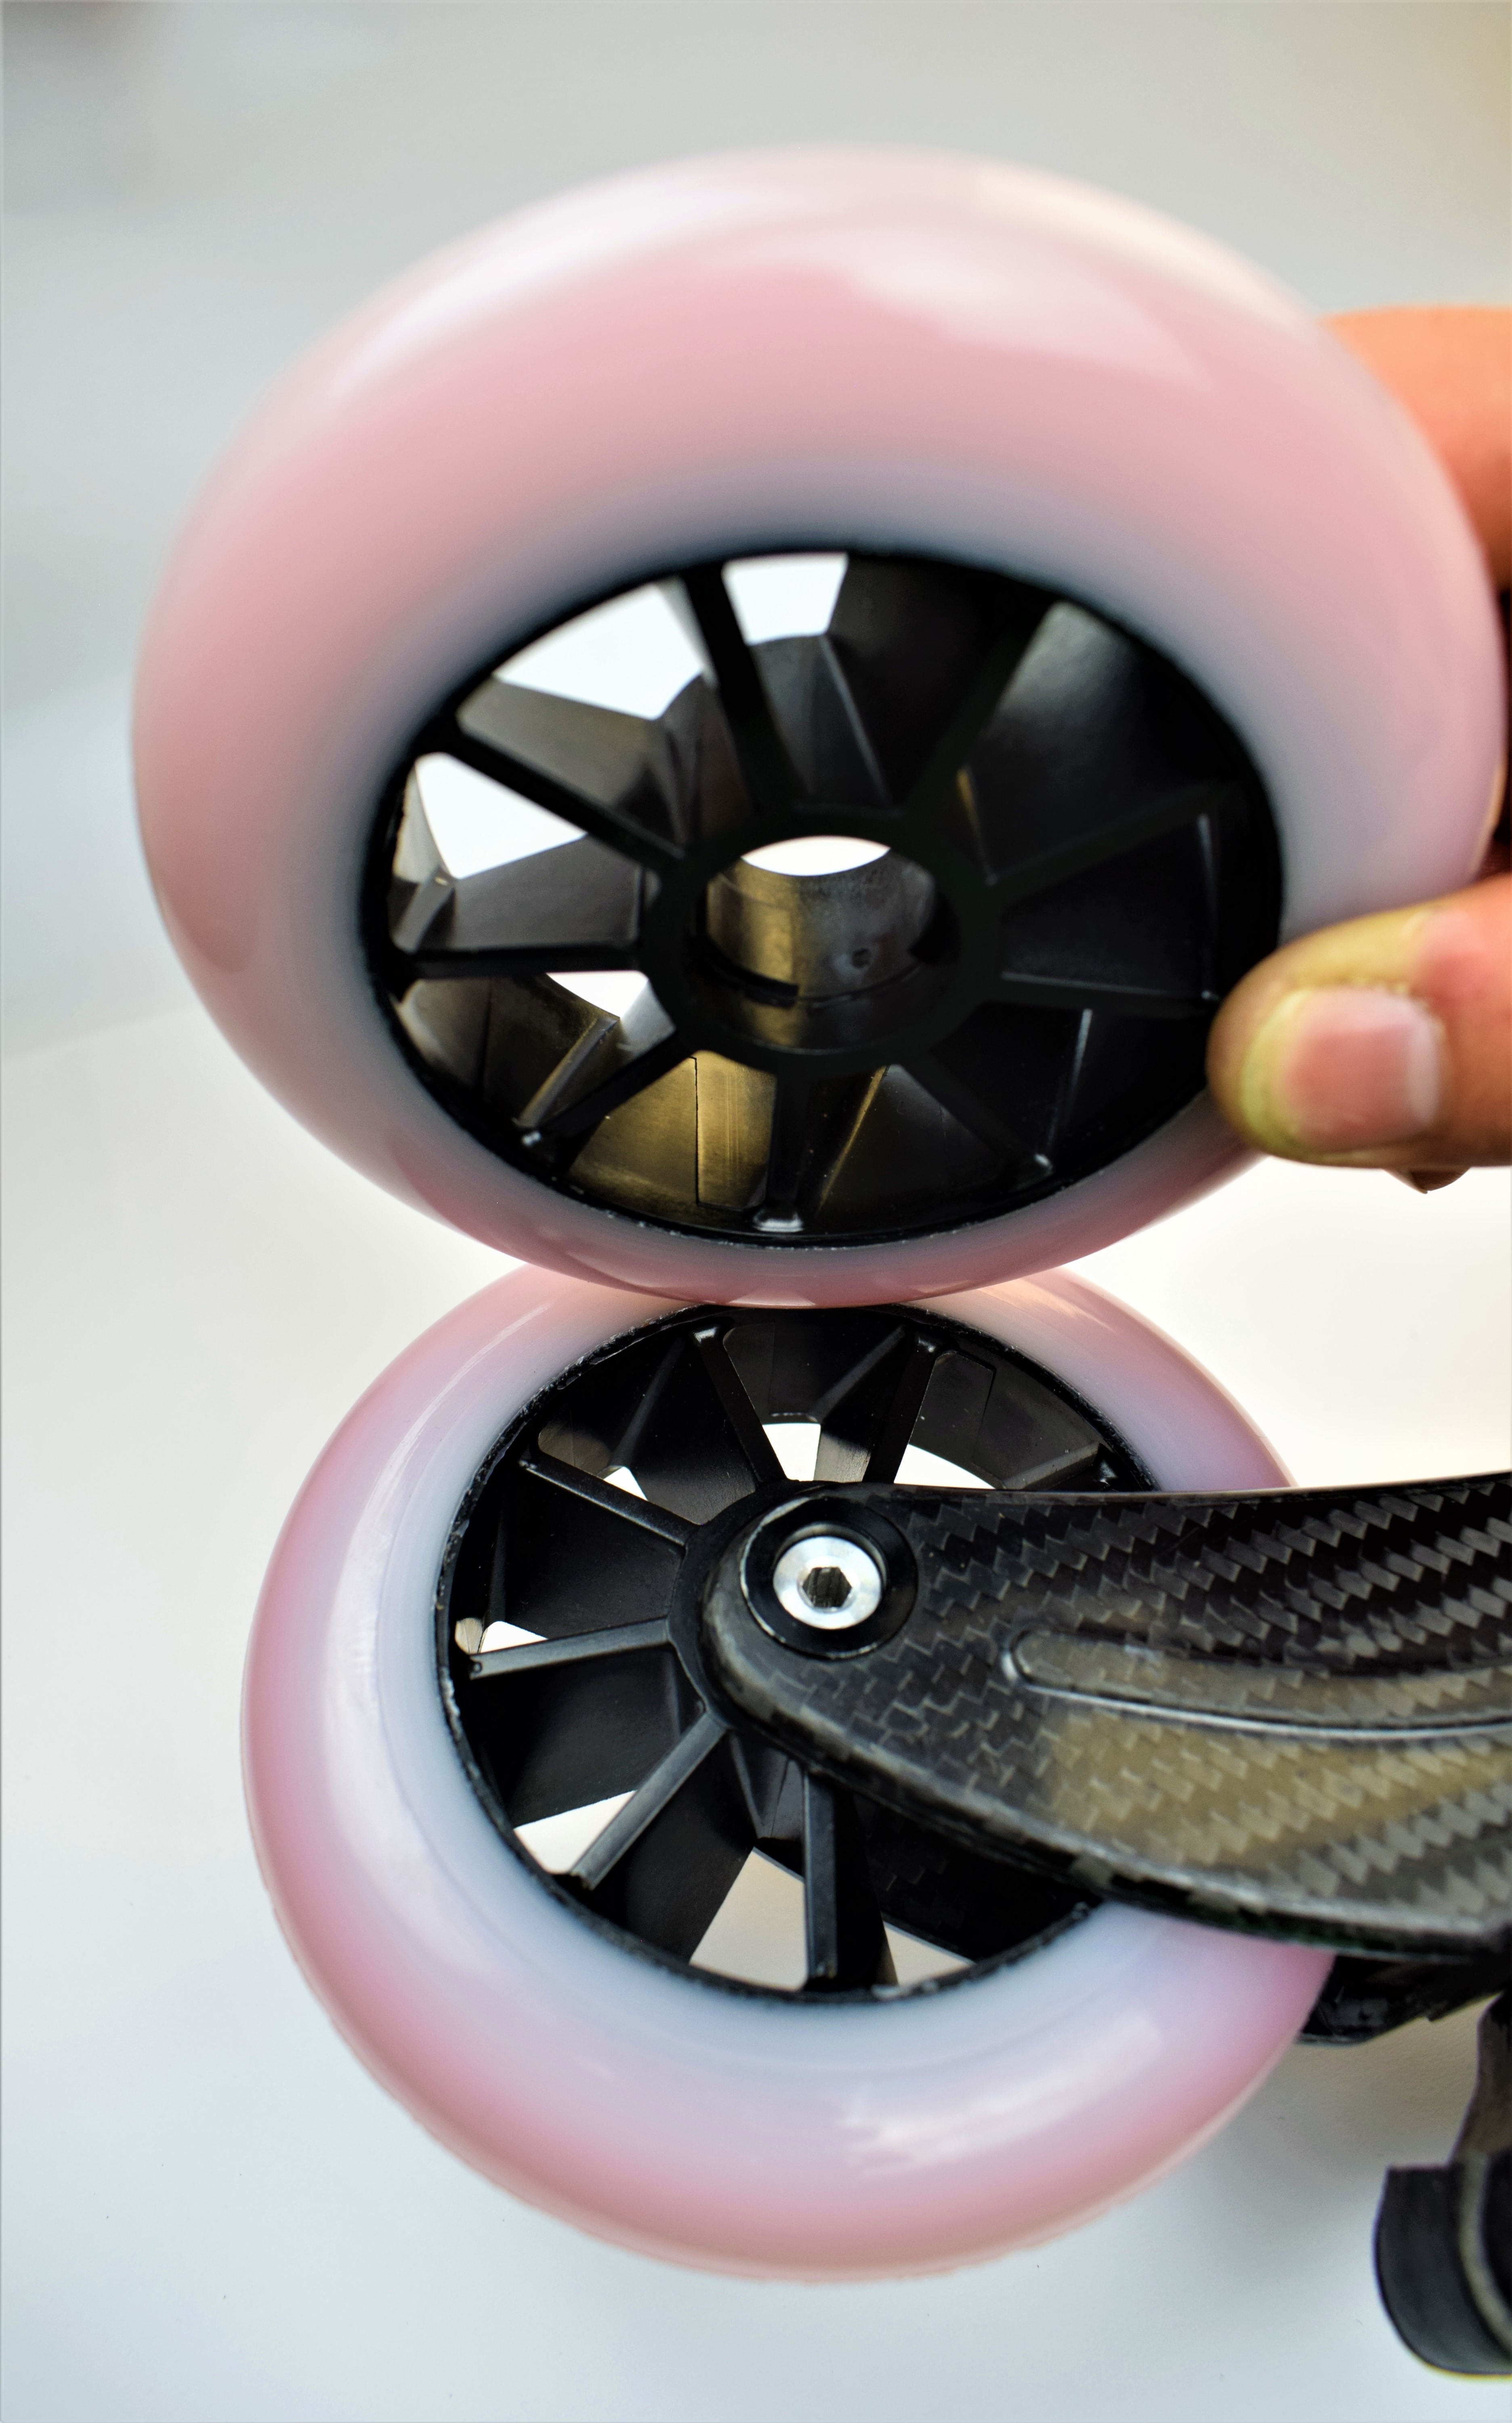
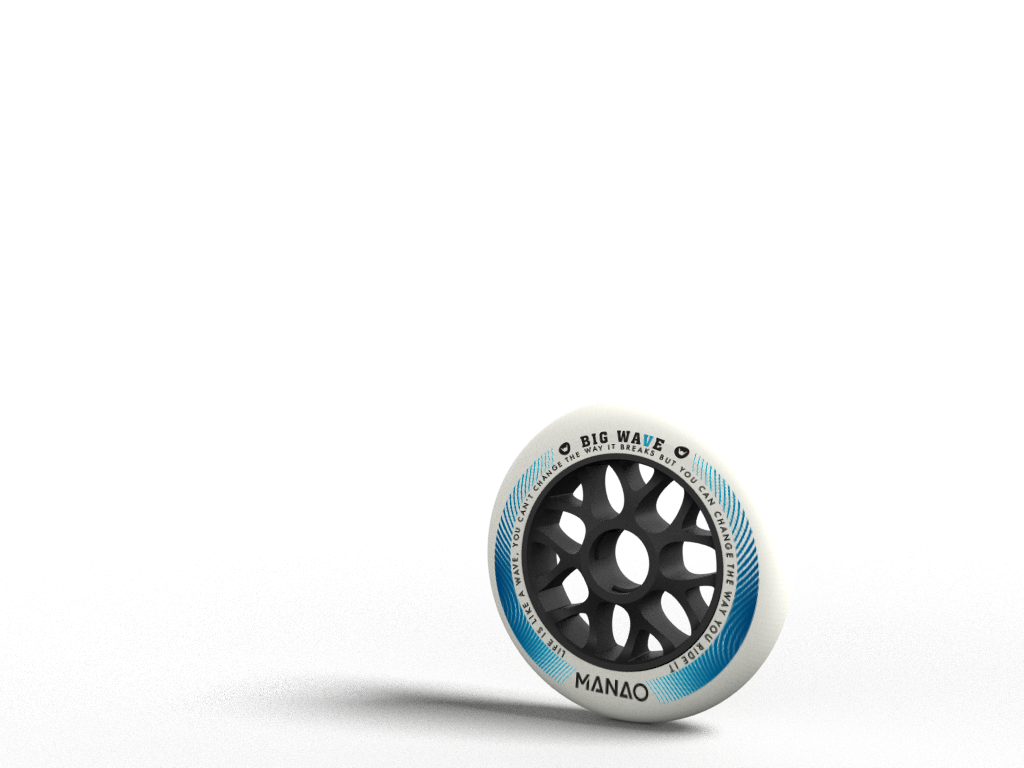
Wheels consist of a core surrounded by polyurethane, into which bearings and spacers are fitted. The secret to a good wheel lies in the composition of the polyurethane and the right material formulas. Different manufacturers offer varying degrees of hardness for their rollers.
General Guidelines:
- A medium hardness is typically suitable for most situations, temperatures, road surfaces, and individuals.
- When making your purchase decision, consider your skating needs.
Wheel with Flex Bands:
- These have a softer inner component and are generally more expensive, but they provide a better balance between grip and rolling efficiency, making them worth the investment.
- For competitive racing, we recommend this configuration as it allows for more energy-efficient skating, helping you achieve faster times.
Wheels without Flex Bands:
- Even these can be energy-efficient.
In our shop, we prioritize offering rollers that meet these criteria. If you have any doubts or need more advice, feel free to contact us—skating is enjoyable in all weather conditions! Our special rain wheels make skating possible even in wet conditions.
Hardness Ratings by Manufacturer:
MATTER:
- F2 - Soft
- F1 - Medium
- F0 - Hard
MPC:
- Firm - Soft
- XFIRM - Medium
- XXFIRM - Hard
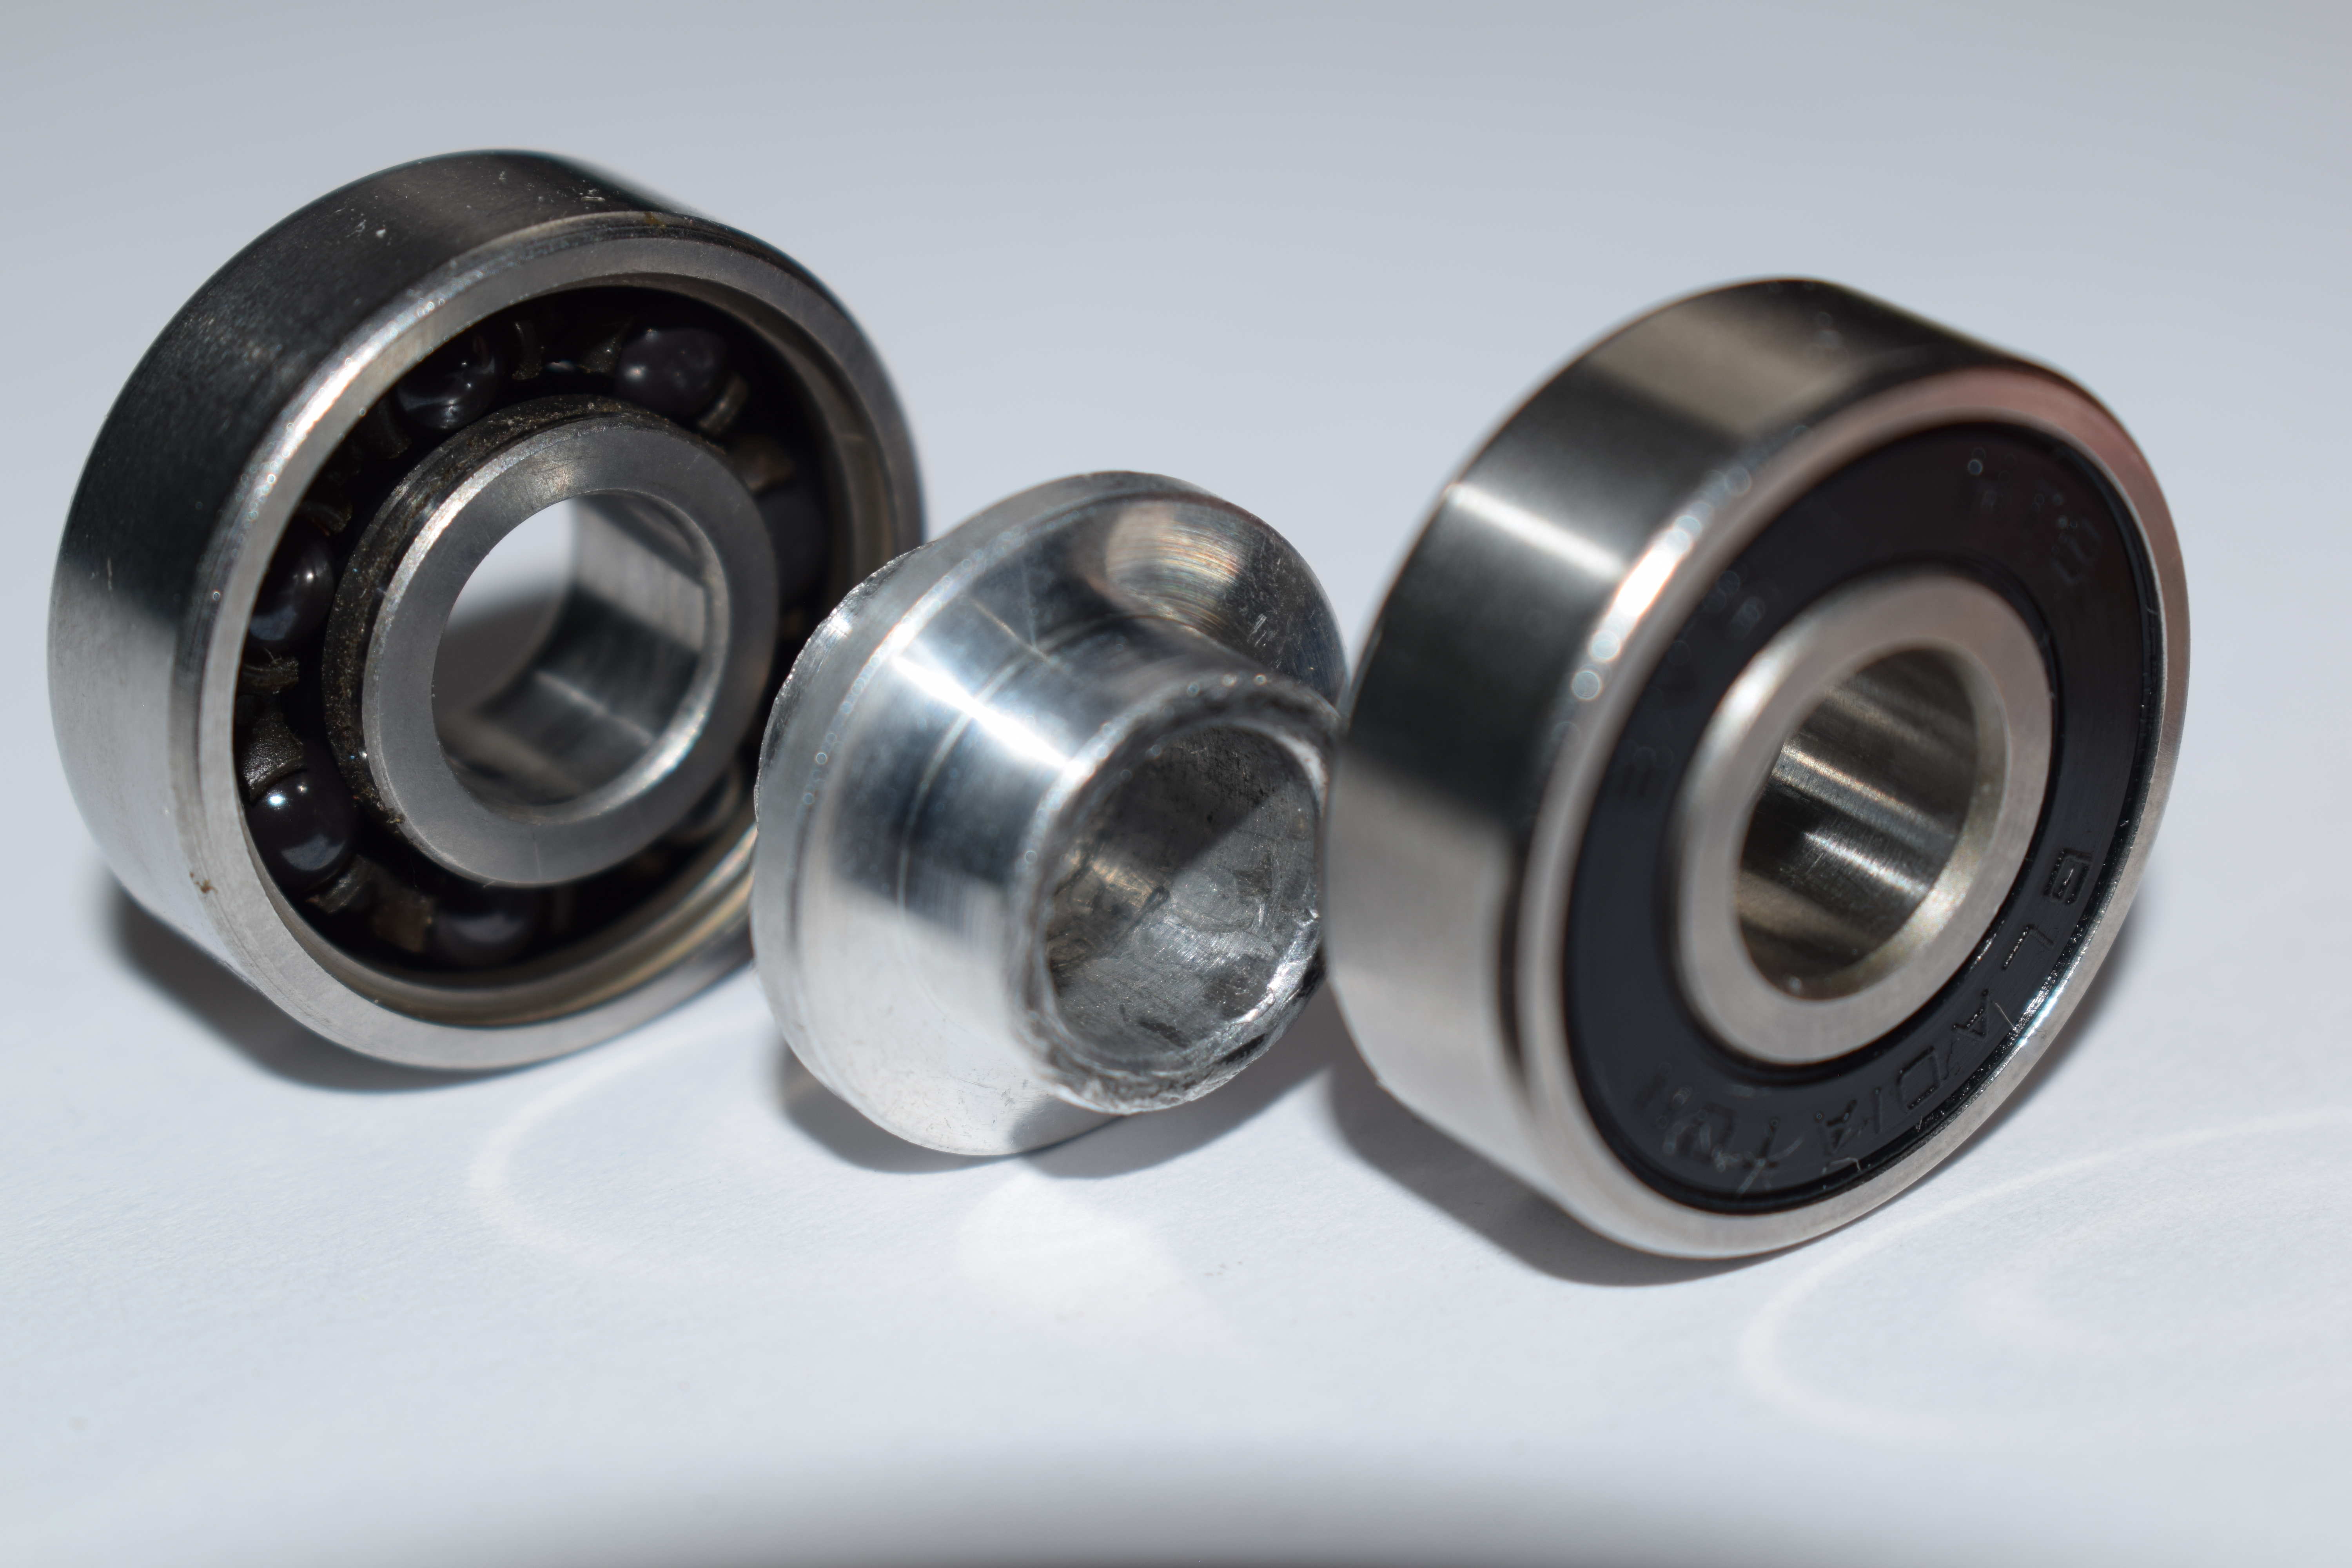
Bearings consist of an outer ring and an inner ring, with balls moving in a groove between them. These balls are held in place by a cage. Depending on the manufacturer, bearings can be sealed or open, affecting their performance and maintenance requirements.
Spacers maintain the distance between the bearings, allowing them to operate with minimal friction.
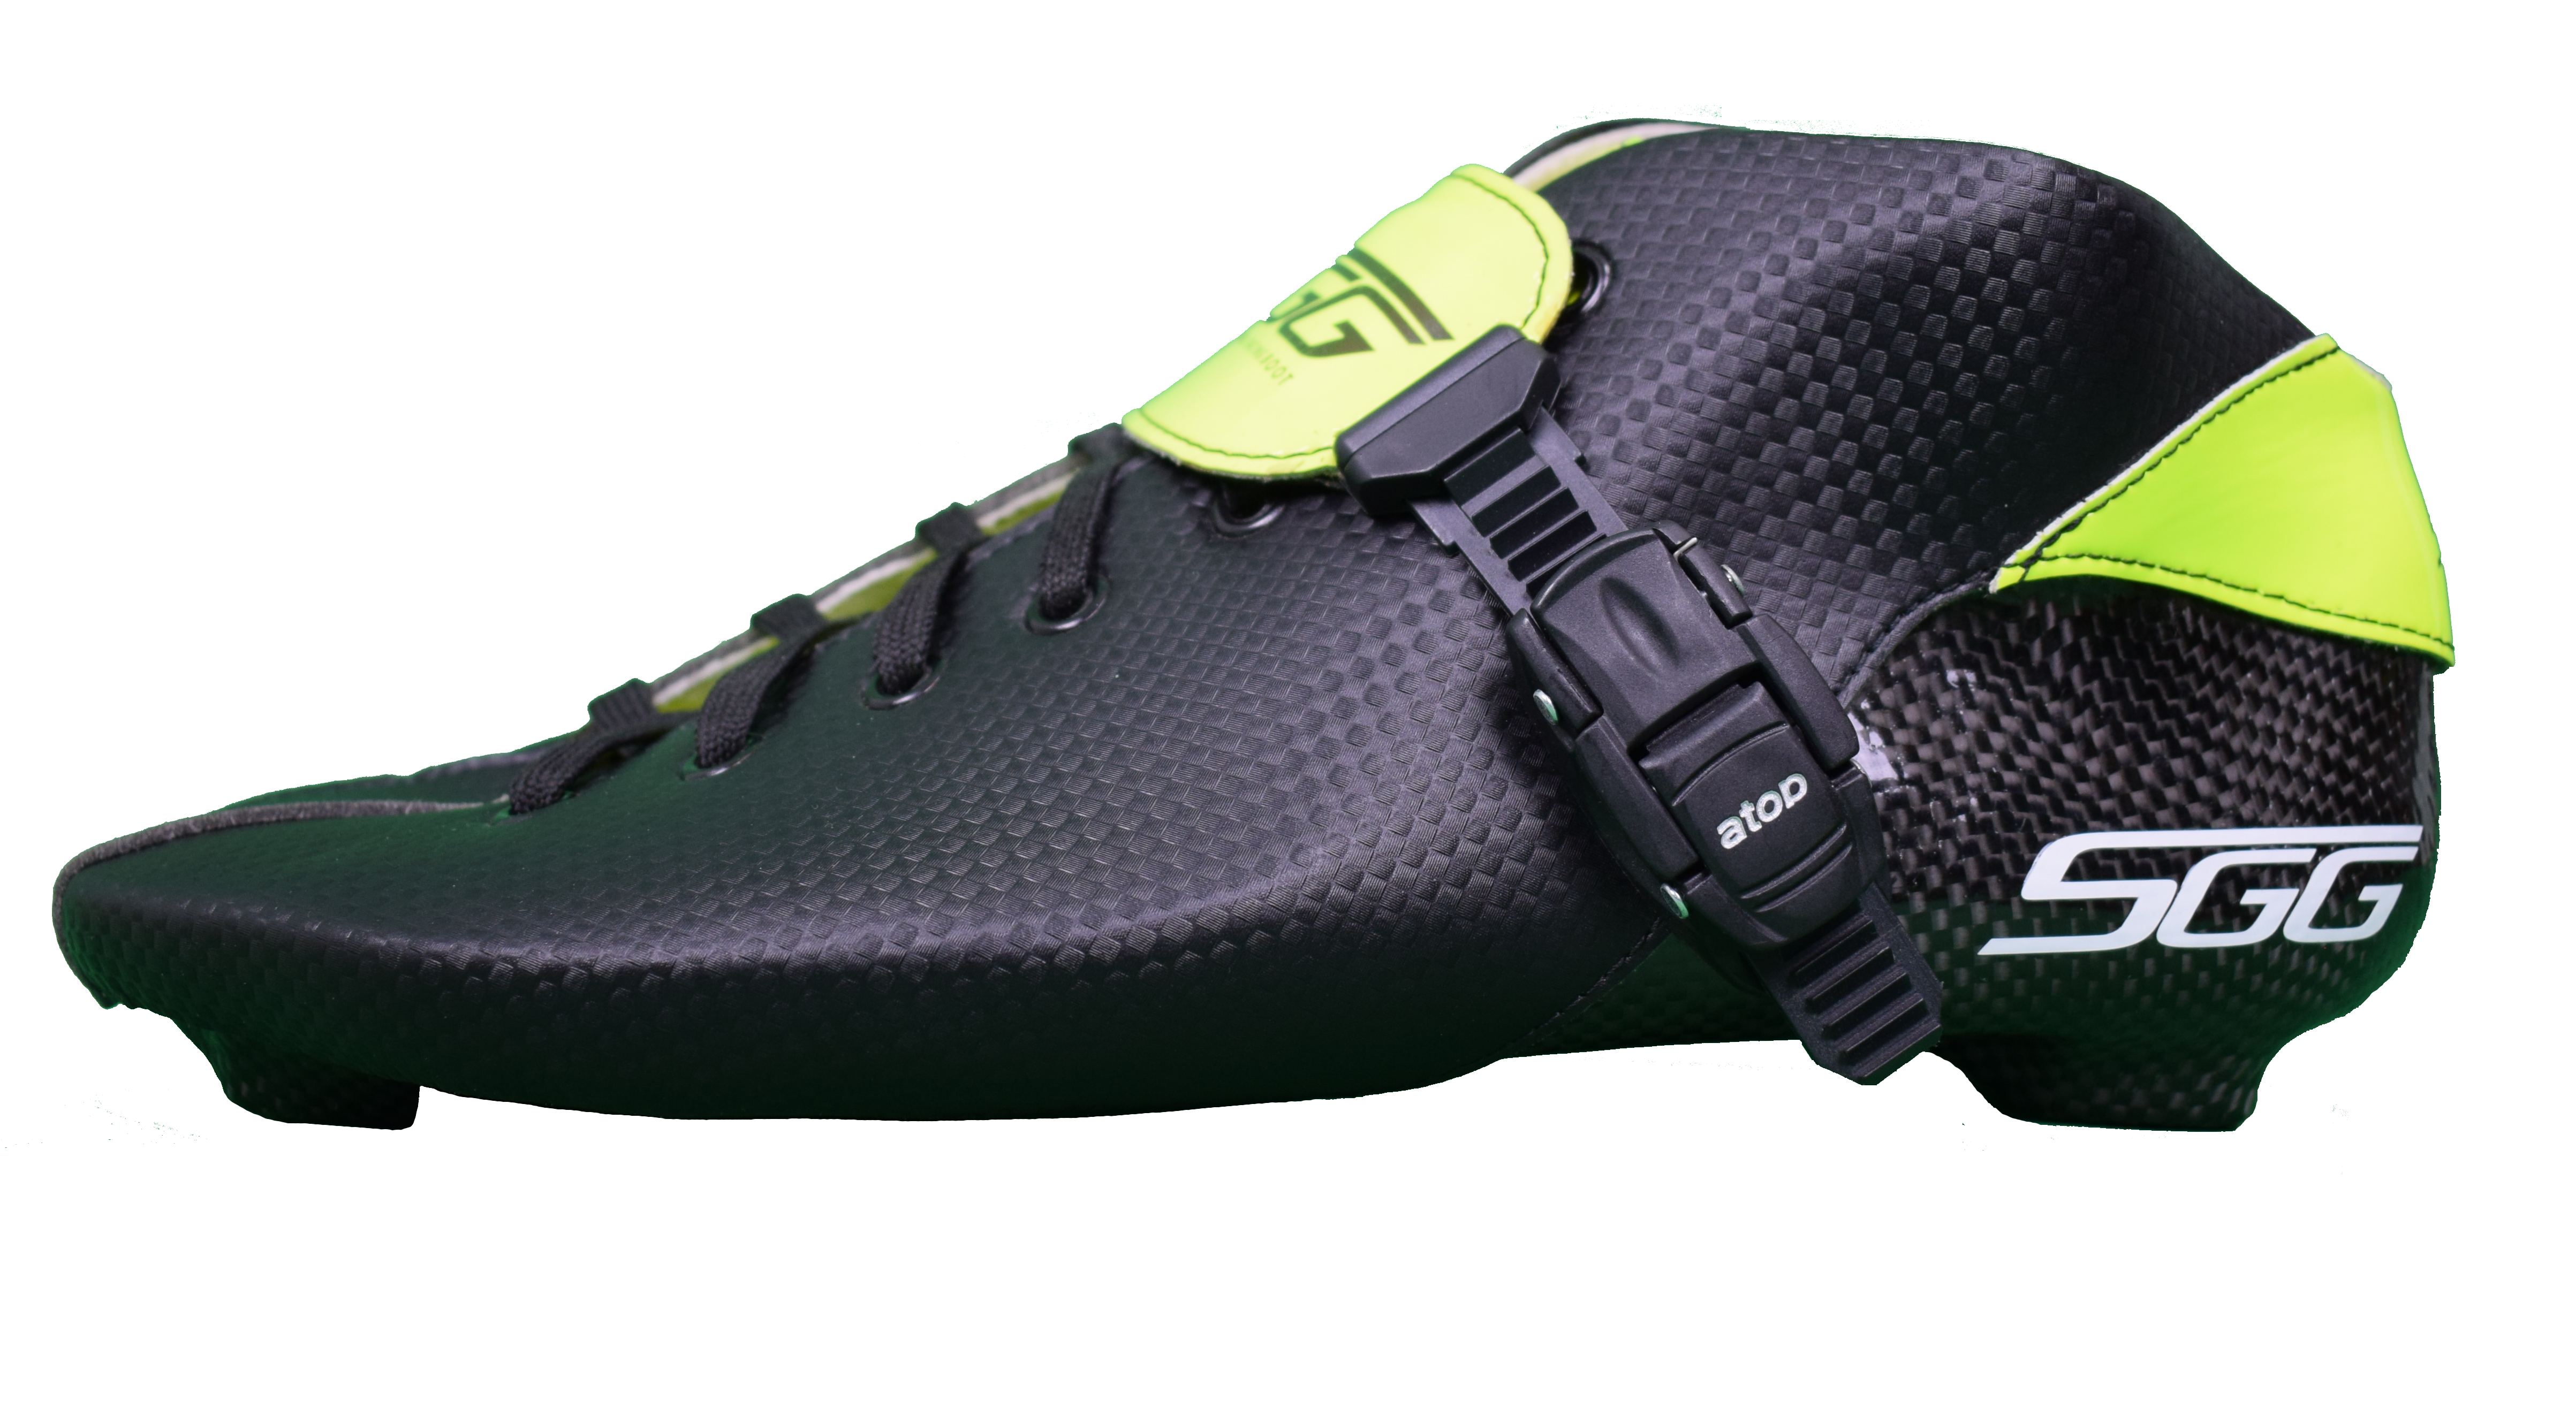
Speedskate are typically made from a carbon or fiberglass shell with a leather covering. Generally, the higher the carbon content, the stiffer and more stable the shoe will be. The shoes feature laces as well as straps with buckles to secure the foot in the instep area.
Important!
-
When tightening the laces, avoid yanking them; instead, pull them evenly to prevent tearing the eyelets or breaking the laces.
-
Unwaxed laces can easily come undone and provide a looser fit. Waxed laces are the best option for a secure hold.
-
Buckles and laces are wear parts, so it’s advisable to always carry spares, especially during competitions.
The frames are primarily made of aluminum, although there are also carbon frames that are significantly lighter than their aluminum counterparts. Each frame comes with matching screws and axles. When purchasing replacements, it's essential to ensure that the minimum head diameter of the worn screw is not exceeded. There are special screws designed specifically for carbon frames. Axles typically experience minimal wear when used correctly (see installation guidelines).

Shoes can be adjusted to fit the foot, depending on the manufacturer and materials. The simplest but also the most expensive solution is custom-made shoes, where a cast of the foot is created, and the shoe shell is built around it.
Off-the-shelf shoes can be reshaped using various techniques. Luigino offers a unique fitting method called AquaTechnology for its models. Shoes from other manufacturers can be heated in an oven, but using a heat gun is not recommended due to the difficulty in controlling localized heating.
Using a Cooking Bag:
- Fill a large pot halfway with water and bring it to a boil. Prepare a shoe for fitting by placing it toe-first into a freezer bag.
- Submerge the bag in boiling water for 10 to 20 minutes, ensuring no water enters the bag.
- Remove the bag from the water and take the shoe out (be cautious of hot metal parts!).
- While sitting, put your foot into the shoe and carefully tighten the laces and buckle. Push your knee forward to achieve the skating position, pressing inward at necessary spots with your hands if needed.
- Remove the shoe and let it cool for 12 hours. Done!
Using an Oven:
- Detach the shoe from the frame and wheels, then preheat the oven to 100°C (follow manufacturer’s instructions!).
- Place the shoe in the oven for 10 minutes. Use a baking sheet to catch any excess glue that may seep out.
- Remove the shoe (caution: hot eyelets!) and, while wearing gloves, use a suitable tool (e.g., the back of a screwdriver) to press out any necessary areas.
- Step into the shoe, tighten it securely, and allow it to cool completely. Repeat the process if needed.
Note: Frequent adjustments can compromise the quality of the shoe.

-
Remove the wheels, bearings, spacers, and axles.
-
Wipe the outside of the shoes and frames with a cloth, and clean the axles and spacers as well.
-
Stuff the shoes with newspaper; if you're in a hurry, use a hairdryer to speed up drying. Avoid using a heat gun, as it can damage the shoe!
-
Tap or blow out the bearings onto a dry cloth and apply a light oil for water displacement and rust prevention. After the competition, clean them normally (see bearing cleaning instructions).
